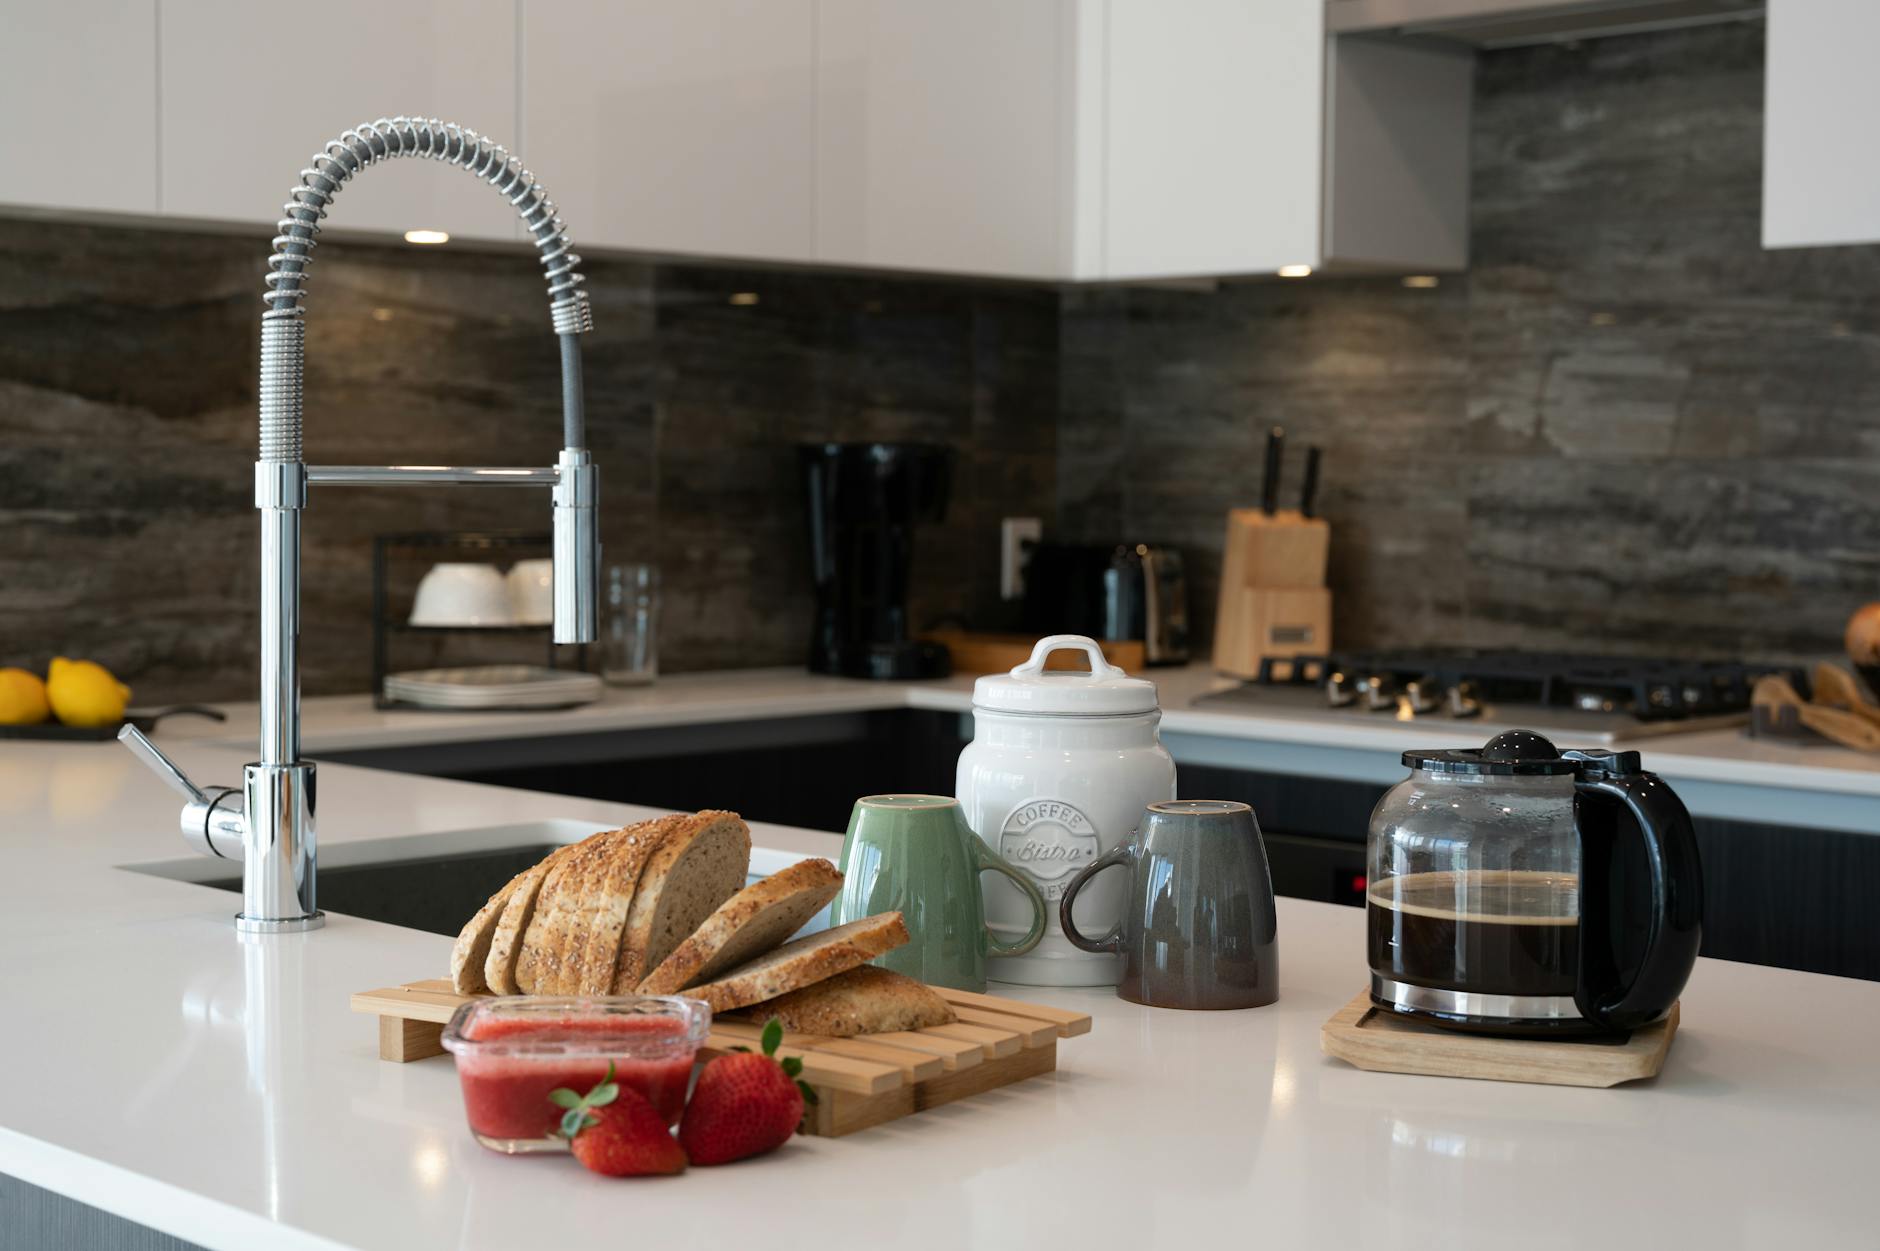
How to Clean a Coffee Maker with Vinegar in Arvada
SHARE:
To clean a coffee maker with vinegar, fill the water reservoir with equal parts white vinegar and water, run a brew cycle halfway, let it sit for 30 minutes, then complete the cycle. Follow up with two full cycles of plain water to rinse out any residual vinegar taste. This post covers every step in detail, plus tips on how often to clean your machine and what else you can do to keep your kitchen spotless in Arvada.
Why Cleaning Your Coffee Maker with Vinegar Actually Matters
Most people wipe down the outside of their coffee maker and call it clean. The problem is what builds up on the inside over time. Hard water leaves behind limescale deposits that clog the heating element, slow brew times, and make your coffee taste off. Oils from ground coffee also accumulate inside the carafe and along the brew basket, turning bitter and rancid if left too long.
White vinegar is one of the most effective natural descalers available because its acetic acid dissolves mineral buildup without leaving harmful chemical residue behind. According to Good Housekeeping’s cleaning guides, regular descaling with a diluted vinegar solution can extend the life of your appliance by years. That is good news for Arvada homeowners who want to keep their kitchen running well without buying a new machine every few years.
Skipping this step does real damage. Mineral scale insulates the heating element, forcing it to work harder to reach brewing temperature. You end up with lukewarm coffee and a shorter appliance lifespan. Cleaning your coffee maker with vinegar every one to three months solves both problems with a product you almost certainly already have under your sink.
If you want a broader approach to deep cleaning your kitchen appliances, check out this guide on kitchen deep cleaning in Santa Fe for a room-by-room framework you can apply at home.
What You Need Before You Start
Cleaning a coffee maker with vinegar requires almost nothing you would need to buy. Here is a quick list of what to gather before you begin:
Distilled white vinegar (plain household vinegar, not apple cider)
Fresh cold water
A clean dish towel or paper towels
Dish soap and a soft sponge for the removable parts
A small cleaning brush for the brew basket (optional but helpful)
That is it. You do not need a specialty descaling tablet or a commercial cleaning product. The vinegar solution does the heavy lifting on its own. If your machine has a mineral buildup indicator light, this process will reset it once the heating element is fully clear.
One thing worth checking before you start: your machine’s manual. Some manufacturers, particularly those that make single-serve pod brewers, recommend a specific ratio or cycle count. For a standard drip coffee maker, the 50/50 vinegar-to-water ratio is the widely accepted standard covered by sources like The Spruce’s cleaning section.
Step-by-Step: How to Clean a Drip Coffee Maker with Vinegar
Follow these steps in order to clean your drip coffee maker with vinegar thoroughly and safely. This process takes about an hour total, but most of that is hands-off wait time.
Step 1: Empty and Rinse the Machine
Remove any coffee grounds from the brew basket and discard them. Rinse the carafe with warm water to remove old coffee residue. If the carafe has staining, a quick soak in warm soapy water while you run the vinegar cycle handles it easily.
Step 2: Fill the Reservoir with Your Vinegar Solution
Mix equal parts white vinegar and cold water. Pour the mixture into the water reservoir up to its full capacity. Place the empty carafe back on the warming plate and insert a clean paper filter into the brew basket.
Step 3: Run a Half Cycle
Start a normal brew cycle. When the machine has brewed about half of the reservoir, turn the coffee maker off. Let the vinegar solution sit inside the machine for 30 to 60 minutes. This soak time is what allows the acetic acid to break down limescale deposits inside the boiler and along the water lines.
Step 4: Complete the Brew Cycle
Turn the coffee maker back on and let it finish the remaining half of the vinegar-water mixture. Once the cycle is complete, pour the liquid from the carafe down the drain and remove the used paper filter.
Step 5: Run Two Full Water Rinse Cycles
Fill the reservoir with plain cold water to its maximum level and run a complete brew cycle. Discard the water. Repeat this a second time. Two full rinse cycles remove all traces of vinegar so your next pot of coffee tastes clean. Some Arvada residents with older machines or heavy mineral buildup run a third rinse cycle just to be safe.
Step 6: Hand Wash the Removable Parts
While the machine is still warm but not hot, wash the carafe, brew basket, and lid with warm soapy water. A soft sponge handles most residue. For stubborn coffee staining inside the carafe, a paste of baking soda and a little water scrubbed gently with a sponge works well. Rinse everything thoroughly before reassembling.
How Often Should You Clean Your Coffee Maker with Vinegar
The right frequency depends on how often you brew and what kind of water you use. In Arvada, where the water supply comes through municipal treatment and can carry moderate mineral content, buildup can happen faster than people expect.
Daily coffee drinkers: Clean your machine with vinegar every 4 to 6 weeks.
Occasional users (a few times per week): Every 2 to 3 months is sufficient.
Households with hard tap water: Move toward the shorter end of whichever range applies to you.
Signs that your machine needs cleaning sooner than scheduled include longer brew times, coffee that tastes bitter or weak, a gurgling or sputtering sound during brewing, or visible mineral deposits around the water reservoir opening. If your machine has a descaling or clean indicator, trust it.
Consumer Reports notes in its appliance and cleaning coverage that skipping descaling is one of the leading causes of premature coffee maker failure. A few minutes every month or two is a reasonable trade for an appliance that can cost $100 or more to replace.
While you are in that cleaning routine mindset, it is worth checking our ultimate guide to spring cleaning for a full home reset that goes far beyond the kitchen.
Cleaning a Keurig or Single-Serve Coffee Maker with Vinegar
The vinegar descaling method works on single-serve brewers too, but the process is slightly different because there is no traditional carafe or brew basket involved. If you have a Keurig or similar pod machine, here is how to adapt the cleaning steps.
First, remove and hand wash the water reservoir, lid, mug tray, and K-cup holder with warm soapy water. Set them aside to dry. Fill the reservoir with a 50/50 white vinegar and water solution. Place a large mug under the brew head and run the largest cup size available, without inserting a pod. Continue running brew cycles until the reservoir is half empty, then let the machine sit for 30 minutes before finishing.
Once the vinegar solution is fully brewed through, refill the reservoir with plain water and run at least three full rinse cycles. Single-serve machines have more internal tubing and a needle that punctures pods, so they tend to hold onto vinegar taste a bit longer than drip brewers. Three rinse cycles is the minimum.
For Arvada households using a pod-style brewer as part of a busy morning routine, a clean machine makes a real difference. Mineral buildup in a single-serve brewer is more likely to cause visible scaling around the needle and reservoir connection, and it can affect cup temperature noticeably.
When you are in deep-clean mode throughout the kitchen, deep cleaning services from a professional team can take care of the larger tasks while you handle appliance maintenance yourself. For a complete home deep clean checklist, the deep clean checklist for Queen Creek homeowners offers a thorough room-by-room structure that applies equally well to Arvada homes.
If you want a similar deep-dive focused on drip machines in another Arizona community, the coffee maker cleaning guide for Mesa homeowners covers several useful variations on the vinegar method.
Meanwhile, Arvada neighbors looking for reliable Summit cleaning Arvada options for their whole home can find professional crews ready to handle what the vinegar rinse cannot.
Natural Alternatives and When to Use Them
White vinegar is the most accessible and effective household option for descaling a coffee maker, but it is not the only one. Here are a few natural alternatives that Arvada residents sometimes ask about, along with honest guidance on when they make sense.
Baking Soda
Baking soda is a mild abrasive and deodorizer that works well for cleaning the carafe and brew basket but does not descale the internal components effectively. Use it for surface staining, not as a substitute for the vinegar cycle.
Lemon Juice
Diluted lemon juice contains citric acid and can work as a descaler in a pinch. Mix one part lemon juice with two parts water and follow the same cycle process. The downside is that lemon juice leaves a stronger taste residue than vinegar and requires more thorough rinsing.
Commercial Descaling Tablets
Products like Dezcal and similar commercial descalers are formulated specifically for coffee makers and are particularly useful for espresso machines or brewers with brass or aluminum components that can be sensitive to high concentrations of acetic acid. For standard drip machines, the vinegar solution is sufficient and far less expensive.
The EPA Safer Choice program is a useful resource for Arvada homeowners who want to verify which cleaning products are genuinely safer for household use and plumbing systems. Looking for the Safer Choice label on commercial descalers is a quick way to vet them before buying.
The holiday cleaning services offered by Elite Maids are a great complement for when your home needs a professional reset beyond what DIY methods can accomplish.
Keeping the Rest of Your Kitchen Clean in Arvada
Cleaning your coffee maker with vinegar is a satisfying quick win, but it is just one piece of a clean kitchen. In Arvada, where many households keep their homes tidy year-round, pairing DIY appliance maintenance with a regular professional cleaning schedule makes the biggest difference.
Elite Maids House Cleaning is a family-owned residential cleaning team serving homeowners throughout Colorado and Arizona. Every cleaner on the team is background-checked, bonded, and insured. The team backs every visit with a reclean-at-no-cost satisfaction guarantee, so if something is not right, they come back and fix it at no charge.
For Arvada residents who want the convenience of a clean kitchen without spending their Saturday scrubbing, House Cleaning Services in Arvada, Colorado covers recurring weekly, biweekly, and monthly schedules as well as one-time deep cleans. Online booking with instant quotes means you can schedule same-day service between 8am and 6pm without picking up the phone.
Local Clean Queen Arvada searches consistently surface Elite Maids as one of the most-reviewed residential cleaning teams in the area, and that reputation is built on consistent results rather than marketing.
According to the American Lung Association’s indoor air quality guidance, keeping kitchen appliances and surfaces clean directly reduces the indoor pollutants and mold spores that circulate through your home. A clean coffee maker is a small piece of that picture. A professionally cleaned kitchen is a much larger one.
Whether you are in Arvada, the surrounding metro area, or anywhere nearby, having a clean home starts with small habits like descaling your coffee maker and scales up from there. The recurring maid service options from Elite Maids make it easy to keep every room in your home at that same level of clean, week after week.
How much vinegar do you use to clean a coffee maker?
Use equal parts white vinegar and water, filling the reservoir to its maximum capacity with the 50/50 mixture. For most standard drip coffee makers, that means between 6 and 12 cups of liquid total depending on reservoir size. This ratio is strong enough to dissolve mineral scale without damaging internal components.
Can you run just straight vinegar through a coffee maker?
It is not recommended. Undiluted vinegar is more acidic than needed and can be harsh on rubber seals and certain metal components inside the machine over repeated use. The 50/50 dilution with water is the standard that cleaning experts and appliance manufacturers consistently point to for safe and effective descaling.
How do you get the vinegar smell out of a coffee maker after cleaning?
Run at least two full brew cycles with plain cold water after the vinegar cycle is complete. Most drip machines are odor-free after two rinses. If a faint smell persists, a third rinse cycle with fresh water eliminates it. Avoid rushing the rinse step, since residual vinegar taste in your next pot of coffee is the most common complaint about this cleaning method.
How often should you clean your coffee maker with vinegar in Arvada?
For daily coffee drinkers in Arvada, once every four to six weeks is a practical schedule. If you brew only a few times per week, every two to three months is sufficient. Harder tap water accelerates mineral buildup, so households that notice scale deposits around the reservoir or slower brew times should clean more frequently rather than waiting for the scheduled date.
Does cleaning a coffee maker with vinegar actually improve the taste of coffee?
Yes, noticeably so. Mineral scale on the heating element prevents water from reaching the optimal brewing temperature of around 195 to 205 degrees Fahrenheit. Coffee brewed at lower temperatures tends to taste weak or sour. Removing that scale restores proper heat transfer, which directly improves extraction and flavor clarity in the finished cup.
How to Clean a Microwave with Vinegar in Glendale: A Step-by-Step Guide
SHARE:
To clean a microwave with vinegar, combine equal parts white vinegar and water in a microwave-safe bowl, heat the mixture for five minutes until steam fills the interior, then wipe away softened grease and food splatter with a damp cloth. The steam does most of the heavy lifting. This guide walks Glendale homeowners through every step, plus bonus methods using lemon, baking soda, and dish soap for stubborn messes.
If you live in Glendale and you have been putting off tackling that crusty microwave interior, you are not alone. Grease splatters, reheated leftovers, and forgotten popcorn bags all leave behind a buildup that seems impossible to scrub off without scratching the walls. The good news is that you probably already have the one ingredient that makes this job almost effortless sitting in your pantry right now. La Maid service and house cleaners reviews show that kitchens, and microwaves in particular, are one of the top requests homeowners make when they finally call in a professional crew. Whether you want to DIY it today or let someone else handle it, this step-by-step guide has you covered.
Step 1: Why Vinegar Is the Best Natural Microwave Cleaner
White distilled vinegar is one of the most practical natural cleaners you can keep under your sink. Its acetic acid content breaks down grease, dissolves mineral deposits, and cuts through dried food residue without scratching surfaces or leaving behind chemical residue. When you heat a vinegar-and-water solution inside a microwave, the steam penetrates baked-on grime and loosens it so a single wipe removes what would otherwise take ten minutes of scrubbing.
Another reason cleaning a microwave with vinegar makes sense for Glendale households is that it is genuinely safe. According to the EPA Safer Choice program, acetic acid is one of the lowest-hazard cleaning agents available. Unlike commercial oven sprays that contain harsh solvents, vinegar does not release toxic fumes into the air you breathe while cooking. That matters, especially in kitchens where the air circulates into living spaces. The American Lung Association notes that everyday cleaning products can affect indoor air quality, so choosing a low-VOC option like vinegar is a genuinely smart call.
Cleaning your microwave with vinegar also leaves no soapy residue that could transfer to food, which is a real concern with dish soap if you do not rinse thoroughly. For a weekly or bi-weekly kitchen refresh, vinegar is the default best choice.
Step 2: What You Need Before You Start Cleaning Your Microwave
Gathering your supplies before you start makes the job faster and prevents you from running to the cabinet mid-clean with dirty hands. Here is everything you need for a basic vinegar microwave cleaning session:
1 cup of white distilled vinegar
1 cup of water
A microwave-safe bowl or large measuring cup
A wooden spoon or toothpick (to prevent the liquid from superheating)
A clean microfiber cloth or several paper towels
A small bowl of warm water for the final wipe-down
Optional: a few drops of dish soap for the turntable plate
That is it. No specialty products, no trips to the store. If you want to add a fresh scent, drop a slice of lemon into the bowl before heating. The combination of cleaning a microwave with vinegar and lemon not only tackles grease but also leaves the interior smelling clean instead of like old food. Many Glendale homeowners prefer this combination for that reason alone.
One quick safety note: place a wooden spoon or toothpick in the bowl to prevent the liquid from superheating and erupting when you open the door. It is a rare occurrence, but it takes two seconds to prevent and is worth the habit.
Step 3: How to Clean a Microwave with Vinegar, Step by Step
This is the core method. Follow these steps in order and you will have a spotless microwave interior in under fifteen minutes, including wait time.
Remove the turntable plate. Lift out the glass turntable and the ring or roller it sits on. Set them aside in the sink with warm soapy water to soak while you work on the interior.
Mix your vinegar solution. Combine one cup of white vinegar with one cup of water in your microwave-safe bowl. Add a wooden spoon or toothpick to the bowl.
Heat the mixture. Place the bowl in the microwave and run it on high for five minutes. You want the interior to fill with steam. Do not open the door immediately.
Let it sit. After the timer goes off, leave the door closed for three to five minutes. The trapped steam continues to work on caked-on grease during this time. This is the step most people skip, and it is the one that makes the biggest difference.
Wipe the interior. Carefully open the door and remove the hot bowl (use a dish towel, it will be hot). Starting from the ceiling of the microwave, wipe down all interior surfaces with a damp microfiber cloth. The grime should come off with almost no pressure. Work your way down to the bottom and the door interior.
Tackle stubborn spots. If any spots resist, dip your cloth back into the warm vinegar solution from the bowl and press it against the spot for thirty seconds before wiping. Repeat as needed.
Clean the turntable. Scrub the soaking turntable plate and ring with a sponge or cloth, rinse, dry, and replace them.
Wipe the door seals and exterior. Use the remaining vinegar solution on a cloth to wipe the rubber door gasket, the outside of the door, and the control panel. Dry with a clean cloth.
That is the full method for cleaning a microwave with vinegar. If you do this once a month, you will never deal with a truly grimy microwave again. For homeowners who want their entire kitchen brought to this standard on a regular schedule, our house cleaning service in Glendale covers every surface, appliance, and corner in your kitchen as part of a recurring visit.
Step 4: How to Clean a Microwave with Baking Soda for Stubborn Buildup
Sometimes vinegar alone is not enough, especially if the microwave has not been cleaned in months or if grease has baked on through repeated high-heat cooking. In those cases, cleaning a microwave with baking soda is a powerful complement to the vinegar steam method.
Baking soda works as a mild abrasive that scrubs without scratching enamel or plastic surfaces. It also neutralizes odors at a chemical level, which vinegar alone sometimes cannot do for deeply embedded smells.
To use baking soda after the vinegar steam treatment, make a paste by mixing two tablespoons of baking soda with just enough water to form a thick consistency. Apply the paste directly to any remaining stuck-on spots inside the microwave. Let it sit for five to ten minutes, then scrub gently with a damp cloth or soft sponge. Wipe clean with a fresh damp cloth until no residue remains.
For the most thorough approach, you can combine both methods: use the vinegar steam first to loosen the majority of the buildup, then apply the baking soda paste to whatever remains. Cleaning a microwave with vinegar and baking soda together this way handles even the worst neglected microwaves without any harsh chemicals. This is essentially the same approach our team uses during a deep cleaning service when clients need a kitchen brought back from serious buildup.
For more guidance on tackling every part of your kitchen this thoroughly, see our detailed post on kitchen deep cleaning in Chandler, which covers appliances, cabinets, and everything in between using the same principles.
Step 5: Alternative Methods Including Lemon, Dish Soap, and Water
Vinegar is the go-to, but it is not the only option. Depending on what you have available and how messy the microwave is, these alternatives all work well.
How to Clean a Microwave with Lemon
Cleaning a microwave with lemon follows the same steam logic as vinegar. Slice a lemon in half and squeeze the juice into a microwave-safe bowl of water, then drop the lemon halves in too. Microwave on high for three minutes and let the steam sit for five minutes before wiping. The citric acid in lemon cuts grease and the natural oils leave a fresh scent. Many people prefer this method for light to moderate buildup when the vinegar smell is a concern.
How to Clean a Microwave with Dish Soap
For light, everyday splatter, cleaning a microwave with dish soap and warm water works perfectly well. Dip a microfiber cloth or sponge in warm soapy water, wring it out so it is damp rather than dripping, and wipe the interior. Rinse with a clean damp cloth. The key is to not use too much soap, since residue left behind can affect food flavor. This method is best for routine maintenance between deeper vinegar cleanings.
How to Clean a Microwave with Water Alone
If the microwave just has light steam condensation or recent light spatters, sometimes plain hot water in a bowl run for two to three minutes creates enough steam to wipe clean. This is more of a maintenance move than a cleaning method. For anything beyond fresh splatter, add vinegar or lemon to the water.
For a complete room-by-room breakdown of keeping your home clean from top to bottom, our deep cleaning guide for Glendale homes is a great companion resource. It covers every room with the same practical, no-nonsense approach as this post.
Step 6: How Often Should You Clean Your Microwave in Glendale
How often you need to clean your microwave depends on how heavily you use it and whether you consistently cover food before heating. As a general baseline, Good Housekeeping recommends wiping out your microwave at least once a week and doing a deeper steam clean once or twice a month. For households in Glendale that cook daily and use the microwave multiple times per day, weekly steam cleaning with vinegar is a reasonable routine.
A few habits dramatically reduce how often you need to do a full cleaning session:
Always cover food with a microwave-safe lid or paper towel before heating.
Wipe out any fresh splatter immediately after it happens, while it is still soft.
Leave the door open for a minute after use to let steam escape and prevent condensation buildup.
Clean the turntable plate in the sink weekly as part of dish washing.
When the microwave is just one item on a long list of things to clean, it helps to have a system for the whole house. You can find a printable reference in our ultimate deep clean checklist, which organizes every cleaning task by room and frequency so nothing falls through the cracks.
For Glendale households where a thorough kitchen cleaning is overdue, LA cleaning services from our team can handle the full scope of a kitchen deep clean, including appliance interiors, cabinet faces, backsplashes, and floors, on a schedule that works for your family. You can also explore Cleaning services glendale california to see everything we offer locally and get an instant quote without picking up the phone.
Step 7: When to Call a Professional House Cleaning Service in Glendale
Vinegar, lemon, and baking soda can handle most microwave messes on their own. But there are times when a microwave is genuinely the least of your kitchen cleaning concerns, and a professional cleaning crew is the faster, smarter solution.
If your microwave has months of baked-on residue, the interior smells even after cleaning, or you are preparing your home for a move, a rental turnover, or a special event, a professional cleaning service saves you hours. Our team at Elite Maids House Cleaning handles every appliance, surface, and corner in your kitchen as part of a full home clean. Every cleaner is background-checked, bonded, and fully insured, and every visit is backed by our no-cost reclean guarantee.
We also offer a book now option with instant quotes, so Glendale homeowners can lock in same-day service between 8am and 6pm without a phone call. Whether you need a one-time deep clean before guests arrive or want a recurring maid service that keeps your kitchen spotless week after week, we have a plan that fits.
If you are curious about seasonal cleaning beyond just the kitchen, our ultimate spring cleaning guide is packed with practical advice for getting your entire home reset efficiently.
Homes in Glendale deal with Arizona’s dry heat, dust, and desert grime on top of everyday cooking mess. A clean kitchen, starting with appliances like your microwave, makes the whole house feel more livable. Whether you prefer the DIY vinegar method or want a full kitchen overhaul handled by professionals, getting the microwave clean is a great place to start. Check out cleaning glendale prices to see our current service options and pricing for the area.
Ready to skip the scrubbing and let the experts take over? Contact Tidy home cleaning done right by booking with house cleaning services in Glendale, contact Elite Maids House Cleaning today for a free quote and get your home back in shape without lifting a finger.
Frequently Asked Questions
Does cleaning a microwave with vinegar actually remove tough grease?
Yes. The steam created by heating a vinegar-and-water solution loosens baked-on grease and food residue so it wipes away with minimal effort. For heavy buildup, follow the vinegar steam with a baking soda paste on stubborn spots. Together these two methods handle virtually any level of microwave mess without commercial chemicals.
Is it safe to use vinegar inside a microwave?
White distilled vinegar is completely safe to use inside a microwave. It does not damage the enamel coating, the turntable, or any plastic components. Once you wipe the interior dry, there is no residue that could transfer to food. According to the EPA Safer Choice program, acetic acid is among the safest cleaning agents available for household use.
How long should I microwave the vinegar and water solution?
Heat the solution on high for five minutes, then leave the door closed for an additional three to five minutes to let the trapped steam continue softening grime. The total dwell time matters as much as the heating time. Skipping the rest period is the most common reason this method does not work as well as expected for people trying it the first time.
Can I clean the microwave with lemon instead of vinegar?
Absolutely. Cleaning a microwave with lemon works on the same steam principle and is a great option if you dislike the smell of vinegar. Squeeze a lemon into a bowl of water, add the lemon halves, and microwave for three minutes. The citric acid cuts grease while the natural oils leave a fresh scent. It works best for light to moderate buildup.
How often should Glendale homeowners clean their microwave?
For households that use the microwave daily, a quick wipe-down once a week and a full vinegar steam clean twice a month is a solid routine. If you consistently cover food before heating and wipe fresh splatter immediately, you can get by with a deep steam clean once a month. The dry, dusty Glendale climate means dust settles on exterior vents quickly, so wipe those down weekly as well.