How to Deep Clean Your Entire House in One Day: A Complete Checklist
SHARE:
You can deep clean your entire house in one day by working room to room in a specific order, keeping your supplies within reach, and tackling high-impact areas first. Most homes take six to eight hours with a focused plan. This guide walks you through a complete deep cleaning checklist, the right tools for each zone, and pro tips that cut your time in half.
Why a Whole-House Deep Clean Checklist Changes Everything
Most people underestimate what a full-house deep clean actually involves until they start without a plan and run out of energy by lunch. A solid deep clean house checklist solves that problem before it starts. When you map out each task by room and sequence them strategically, you stop backtracking, stop re-dirtying areas you already cleaned, and stop wasting time hunting for supplies.
The classic mistake is starting with the floors. Dust and debris fall downward, so if you mop first, you are mopping twice. A proper deep cleaning checklist always works top to bottom, back to front, and dirty to clean. That order is not just a preference; it is the most efficient path through a home.
Before you grab a single sponge, take fifteen minutes to gather everything you need: microfiber cloths, an all-purpose cleaner, a scrub brush, a mop, a vacuum with attachments, glass cleaner, a grout brush, baking soda, and white vinegar. According to the EPA Safer Choice program, choosing products certified for safety means fewer harsh chemicals in your home while still getting effective results. Set up a cleaning caddy so every product travels with you from room to room. That one habit alone saves twenty minutes on a whole-house clean.
If you want a deeper look at professional deep cleaning services in Arizona, check out this guide on deep cleaning service in Mesa that breaks down exactly what professionals tackle on every visit.
How to Deep Clean Your House Room by Room
The key to getting through a whole-house deep clean in one day is treating each room like its own contained project with a start and a finish line. Do not skip between rooms. Complete one space before moving to the next, and you will feel momentum building rather than the creeping overwhelm that kills most cleaning sessions.
Kitchen
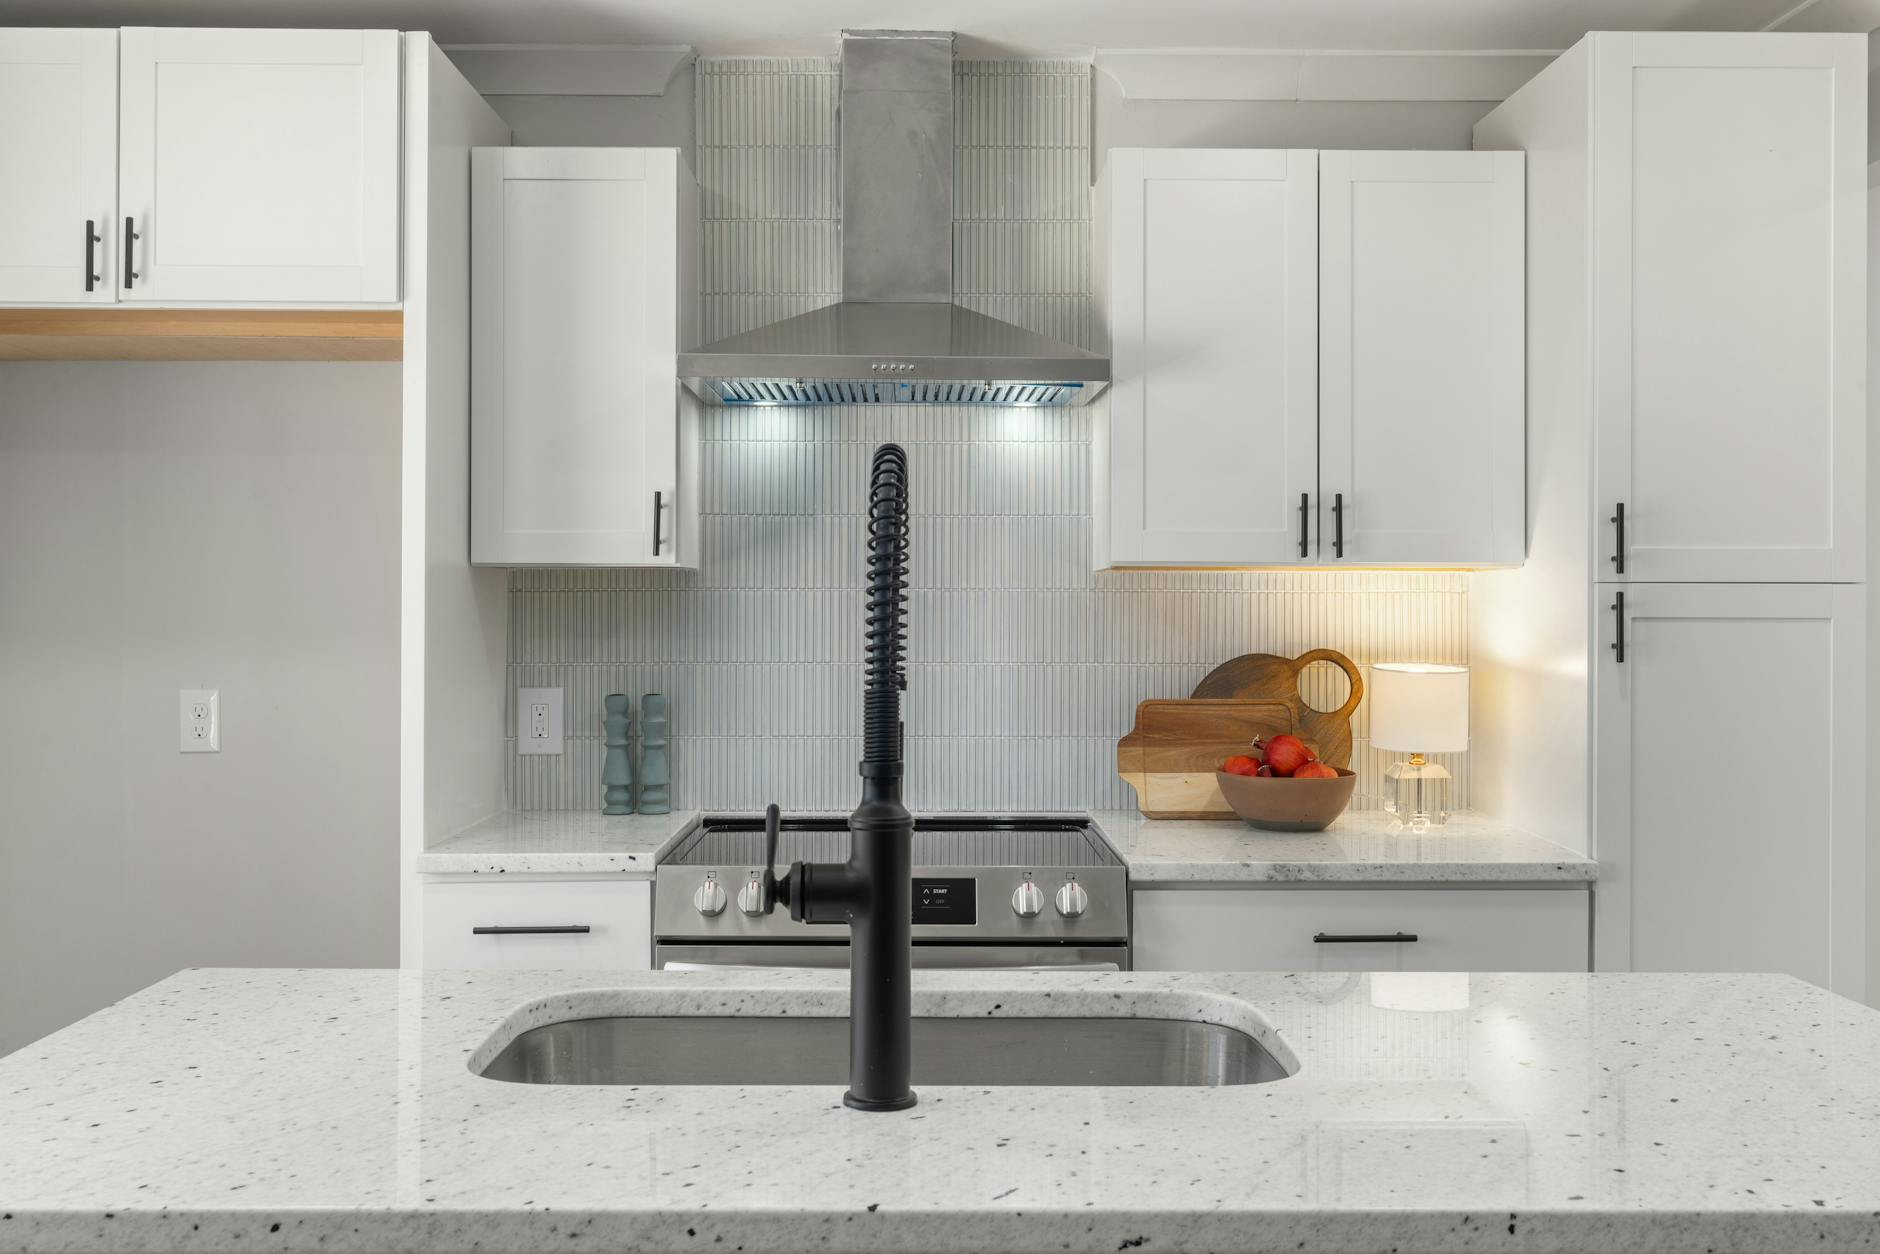
The kitchen is the hardest room in the house to deep clean, so tackle it first when your energy is highest. Start by removing everything from cabinet surfaces and the stovetop. Degrease the stovetop grates by soaking them in hot, soapy water while you work on the rest of the kitchen. Wipe down cabinet fronts with a degreaser, paying attention to the areas around handles where grime collects. Pull the refrigerator out from the wall and vacuum the coils, then wipe the exterior. Clean the inside of the fridge, tossing expired items and wiping each shelf. Scrub the sink and faucet with a baking soda paste, then rinse with white vinegar for a natural disinfecting rinse. Finish by cleaning the oven interior, wiping countertops, and mopping the floor last.
Bathrooms
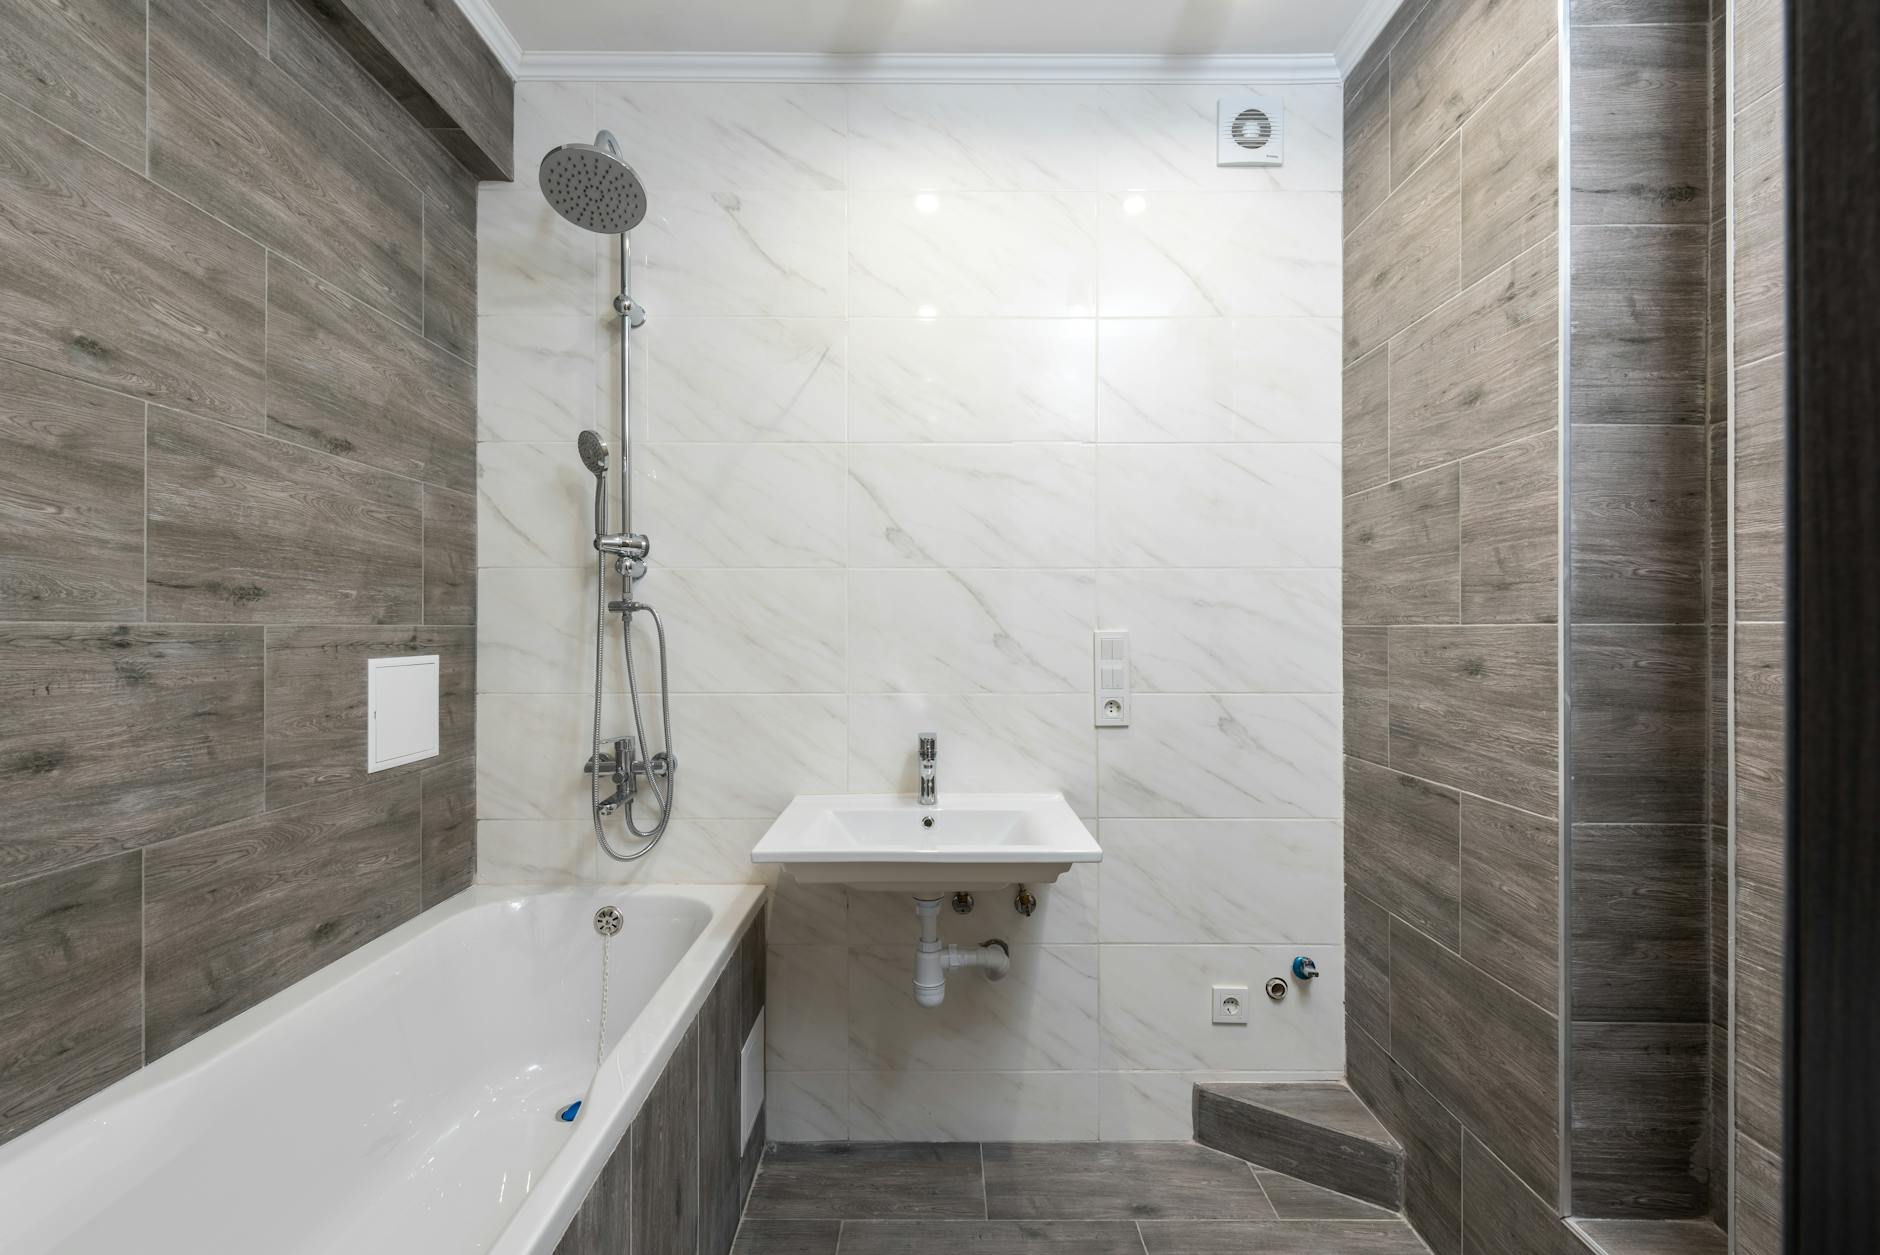
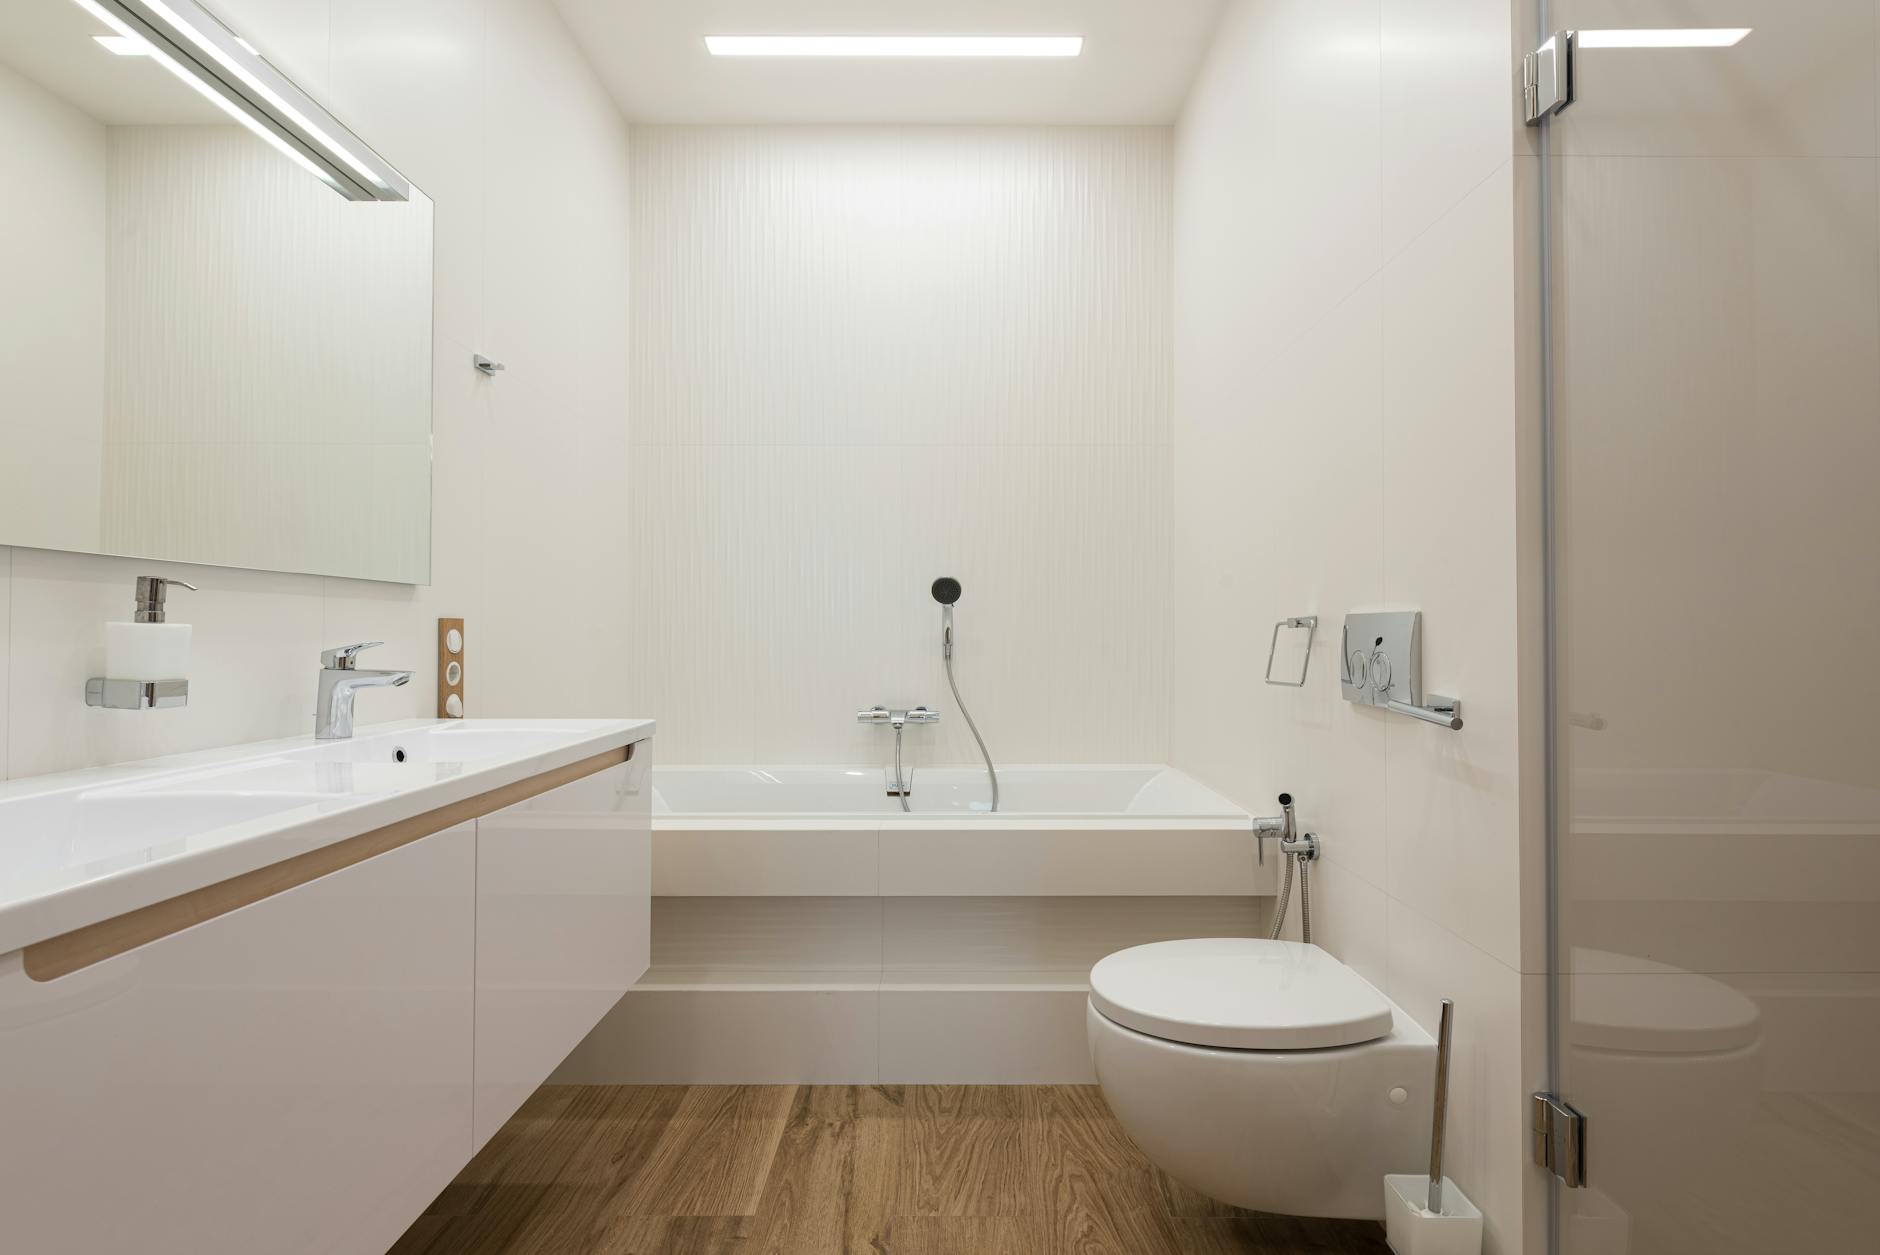
Spray the toilet bowl with cleaner and let it sit while you work on the surrounding areas. Scrub tile grout with a stiff brush and a baking soda paste. Clean the showerhead by soaking it in white vinegar for fifteen minutes to dissolve mineral buildup. Wipe mirrors with glass cleaner and a microfiber cloth for a streak-free finish. Scrub the sink, faucet, and countertop, then come back to the toilet and scrub the bowl. Wipe the toilet exterior top to bottom. Mop the floor last. The CDC recommends keeping bathroom surfaces dry between cleanings to prevent mold growth, so finish by running the exhaust fan and leaving the shower door or curtain open.
Bedrooms
Strip all bedding and wash it at the hottest safe temperature for the fabric. While it washes, dust ceiling fan blades, light fixtures, and the tops of furniture. Vacuum mattresses using the upholstery attachment, then rotate or flip the mattress if it is the two-sided type. Wipe down nightstands, dressers, and baseboards. Clean window sills and window tracks. Vacuum under beds, pulling out items stored there and wiping the floor beneath. Finish by vacuuming the carpet or mopping the floor, then remake the bed with fresh linens.
Living Areas
Dust ceiling corners, ceiling fans, and the tops of shelving units first. Remove cushions from sofas and chairs and vacuum underneath and in the crevices. Wipe down all hard surfaces including shelves, coffee tables, and entertainment centers. Clean glass surfaces on picture frames and TV screens with a dry microfiber cloth. Wipe baseboards and window sills. Vacuum upholstered furniture thoroughly. Finish with the floors, vacuuming carpet or mopping hard floors from the farthest corner toward the exit.
Deep Cleaning Strategies That Save Hours
Professional house cleaners use a handful of strategies that significantly cut down the time a deep cleaning session takes. These are not shortcuts that leave dirt behind; they are smarter sequencing and better product choices.
Let products do the work: Spray cleaners on surfaces and let them sit for two to five minutes before wiping. That dwell time means you scrub less and get a better result.
Use the two-cloth method: One damp cloth for cleaning, one dry microfiber for buffing. This prevents streaks on glass and stainless steel surfaces.
Clean laundry in parallel: Start a load of bedding or towels before you begin cleaning rooms. Laundry runs while you clean, so both tasks finish at the same time.
Vacuum before mopping, always: Mopping over dry debris just smears it around. A quick vacuum pass first gives you a genuinely clean floor.
Keep a trash bag on your belt: Clip a small trash bag to your waistband or cleaning caddy so you can toss items without walking to the trash can on every pass through a room.
Set a timer per room: Give yourself a hard limit of thirty to forty-five minutes per room. A timer creates urgency and prevents perfectionism from eating your day.
For a thorough seasonal reset, the ultimate guide to spring cleaning on the Elite Maids blog pairs well with this approach, covering the seasonal tasks that go beyond a standard whole-house clean.
Cleaning Products That Do the Heavy Lifting
The right cleaning products make a one-day whole-house clean realistic. Using the wrong product on the wrong surface means more scrubbing, more time, and sometimes surface damage. Here is a room-by-room product guide.
All-purpose cleaner: Use on countertops, cabinet fronts, exterior appliances, and bathroom surfaces. A plant-based formula works on nearly every hard surface and is safe around children and pets.
Degreaser: Essential for stovetops, range hoods, and kitchen cabinet fronts near the stove. A standard all-purpose spray is not strong enough to cut through cooking grease.
Baking soda: A mild abrasive that is safe on most surfaces. Mix it with a small amount of dish soap for a grout paste or a sink scrub.
White vinegar: Cuts through mineral deposits and acts as a natural deodorizer. Do not use it on natural stone surfaces like marble or granite; the acid etches the finish.
Microfiber cloths: Outperform paper towels on almost every surface. They trap dust rather than pushing it around and can be washed and reused hundreds of times.
Glass cleaner: Use a streak-free formula for mirrors, windows, and glass shower doors. A 50/50 water-and-vinegar solution in a spray bottle is a solid homemade alternative.
The Good Housekeeping cleaning team regularly tests consumer cleaning products and offers independent, lab-backed guidance on what works and what is mostly marketing. It is a reliable resource when you are deciding whether to invest in a premium cleaner or stick with pantry staples.
If you prefer eco-friendly options, recurring house cleaning Arizona clients through Elite Maids can request green-certified products for every scheduled visit, keeping harsh chemicals out of the home without sacrificing results.
The Deep Clean Checklist: Every Task in One Place
A printed or digital cleaning house checklist keeps you on track when energy drops around hour four. Run through this before you call the deep clean done.
Kitchen Checklist
Degrease stovetop, grates, and range hood
Clean inside oven
Wipe refrigerator exterior and clean interior shelves and drawers
Sanitize sink and faucet
Wipe cabinet fronts and handles
Clean countertops and backsplash
Wipe light switch plates and doorknobs
Sweep and mop floor
Bathroom Checklist
Scrub toilet bowl, seat, and exterior
Clean shower or tub including grout lines
Descale showerhead
Wipe vanity, sink, and faucet
Clean mirror
Wipe light fixtures and exhaust fan cover
Mop floor and clean baseboard
Bedroom and Living Area Checklist
Wash all bedding and pillow covers
Vacuum mattress
Dust ceiling fans, light fixtures, and tops of furniture
Wipe all hard surfaces and electronics
Clean window sills and window tracks
Vacuum upholstered furniture
Vacuum carpet or mop hard floors under and around furniture
Whole-House Tasks
Wash interior windows
Wipe all baseboards
Clean light switch plates throughout
Dust air vents and returns
Vacuum stairs and hallways
Empty all trash bins and reline
When to Hire a Professional House Cleaner Instead
A solo whole-house deep clean is genuinely doable, but there are situations where bringing in a professional cleaning team is the smarter call. If your home has not had a thorough clean in several months, or you are moving in or out of a property, the level of scrubbing needed goes beyond what a single person can realistically accomplish in one day without exhaustion.
Professional holiday cleaning services are also worth considering when you have guests arriving and need the home in top condition without spending your prep time scrubbing. A trained two-person or three-person team can cover the same ground in far less time because they work in parallel, carry professional-grade equipment, and use techniques developed across thousands of homes.
For Arizona homeowners, visit Elite Maids House Cleaning to see same-day booking options across Phoenix, Mesa, Scottsdale, Gilbert, Chandler, Glendale, Queen Creek, San Tan Valley, Tucson, and Flagstaff. Every cleaner is background-checked, bonded, and backed by a reclean satisfaction guarantee, so you know the job will be done right.
The EPA’s indoor air quality guidelines note that thorough cleaning reduces the concentration of allergens, particulates, and pollutants indoors, which is a meaningful health benefit beyond just having a tidy home. When professional tools and methods are involved, those benefits are more consistently achieved.
How to Keep Your Home Clean After a Whole-House Deep Clean
The hardest part of a whole-house deep clean is maintaining the results. Most homes return to a baseline level of mess within a week without a simple maintenance routine. The good news is that after a thorough initial clean, upkeep takes far less time than the original effort.
A fifteen-minute daily reset is the most effective tool for maintaining a clean home. Each evening, clear countertops, wipe the kitchen sink, and do a quick scan of visible surfaces. That habit prevents buildup from ever reaching the level that requires another eight-hour cleaning session.
Weekly light cleaning should cover bathrooms, kitchen surfaces, floors, and a quick dust of the main living areas. Monthly, revisit the tasks from your deep clean house checklist: refrigerator interior, oven interior, window sills, and under furniture. If that schedule sounds like too much to maintain alongside work and family commitments, a recurring cleaning plan is worth considering. Many Arizona families who have tried to stay on top of it themselves end up booking a regular service simply because reclaiming that time is worth more than the cost.
Ready to skip the full-day scrub and let a professional team handle it? Contact Elite Maids house cleaning today for a free quote on a deep clean, recurring visit, or move-in and move-out cleaning anywhere in Arizona’s Valley communities. Online booking takes under two minutes, instant quotes are available, and same-day appointments are open between 8am and 6pm.
Frequently Asked Questions
How long does it take to deep clean an entire house?
For a solo cleaner, a thorough whole-house deep clean typically takes six to eight hours in an average three-bedroom home. Larger homes or homes with heavy buildup can take longer. A two-person professional team can cover the same work in three to four hours because tasks run in parallel rather than sequentially.
What is the difference between a regular cleaning and a deep clean?
A regular cleaning maintains a home that is already in decent shape: wiping surfaces, vacuuming, mopping, and cleaning bathrooms. A deep clean goes further by scrubbing grout, cleaning inside appliances, washing baseboards, removing buildup on cabinet fronts, and reaching areas that routine cleaning skips. Deep cleans are typically done every three to six months.
What should I clean first when doing a whole-house deep clean?
Start with the kitchen since it requires the most time and effort, and tackle it while your energy is highest. Within each room, work top to bottom: dust ceiling fixtures first, then work down to surfaces, and finish with the floors. This order prevents dust and debris from falling onto areas you have already cleaned.
What supplies do I need to deep clean my house?
The core supplies for a whole-house deep clean are microfiber cloths, an all-purpose cleaner, a degreaser, baking soda, white vinegar, glass cleaner, a grout brush, a scrub brush, a mop, and a vacuum with attachments. A cleaning caddy to carry everything room to room saves significant time over the course of the day.
How often should you deep clean your house?
Most households benefit from a thorough deep clean two to four times per year. Homes with pets, children, or allergy sufferers may need one every six to eight weeks in high-traffic areas like kitchens and bathrooms. A recurring professional cleaning between deep cleans helps prevent heavy buildup from accumulating in the first place.
There is a big difference between a regular tidy-up and a true deep clean. A quick vacuum and wipe-down keeps things looking neat day to day, but grime builds up in places you do not see until you really start looking. Grout lines darken, refrigerator coils collect dust, and bathroom drains start to slow. A solid deep clean checklist for your home gives you a clear plan to tackle every corner, every surface, and every hidden space so nothing gets missed. Whether you are doing this yourself room by room on a weekend or bringing in a professional house cleaning service to handle the heavy lifting, having a detailed checklist makes the whole process faster and more effective.
Why a Deep Cleaning Checklist Actually Works
Most people start a deep clean with good intentions and run out of steam halfway through the kitchen. A deep cleaning checklist works because it breaks an overwhelming task into manageable steps. You are not staring at an entire house wondering where to begin. You have a list, you check things off, and you move on. That simple structure keeps you focused and makes sure nothing falls through the cracks.
A thorough home cleaning checklist also removes the guesswork about how often things need attention. Some tasks, like scrubbing baseboards or descaling your showerhead, rarely make it into a weekly cleaning routine. But when you have a documented deep clean checklist in front of you, those tasks show up and get done. According to Good Housekeeping’s cleaning editors, having a written cleaning plan dramatically reduces the time it takes to deep clean a home because you eliminate the decision fatigue of figuring out what to do next. A printed or saved deep cleaning house checklist PDF is one of the most practical tools any homeowner can keep on hand.
What You Will Need Before You Start
Before you open a single cabinet, gather your supplies. Running back and forth to find a scrub brush mid-task kills your momentum. Here is what a thorough deep clean typically calls for:
Microfiber cloths in multiple colors (one for bathrooms, one for kitchen, one for general dusting)
An all-purpose cleaner or a simple homemade solution of warm water and white vinegar
A grout brush and an old toothbrush for tight spaces
A squeegee for glass and shower doors
A vacuum with attachments for upholstery, baseboards, and vents
Baking soda for deodorizing and gentle scrubbing
A mop or steam cleaner for hard floors
Trash bags and donation boxes for decluttering as you go
If you prefer to keep chemicals out of your home, the EPA Safer Choice program maintains a list of certified cleaning products that are safer for people, pets, and the environment. It is a reliable resource when you are shopping for non-toxic options for your deep clean. Many of these products work just as well as conventional cleaners, especially when paired with good technique and the right tools.
How Often Should You Deep Clean Your Home
This is a question almost every homeowner has at some point. The honest answer depends on your household. A family with kids, pets, or anyone with allergies will need to deep clean more frequently than a single adult in a small apartment. As a general rule, most homes benefit from a full deep clean two to four times per year, with lighter maintenance cleaning happening weekly or biweekly in between.
Some areas of your home need deep cleaning attention more often than others. Bathrooms and kitchens see the most grime and should be on your deep cleaning schedule at least once a month. Bedrooms, living areas, and less-trafficked rooms can go a full season between deep cleans without causing problems. If you notice dust buildup on vents or refrigerator coils, musty smells from overlooked corners, or visible soap scum that regular cleaning is not touching, those are all signs it is time to pull out the full home deep cleaning checklist and get to work.
Room-by-Room Deep Cleaning Guide
This is the core of any ultimate deep clean checklist for your home. Going room by room keeps you organized and ensures you apply the right level of attention to each space. Below is what a complete deep clean looks like in each major area of your home.
Kitchen
The kitchen collects grease, crumbs, and odors faster than any other room. A proper kitchen deep clean goes well beyond wiping the counters:
Empty and wipe down all cabinets inside and out, discarding expired pantry items
Clean the refrigerator coils, interior shelves, and door gaskets
Degrease the stovetop, burners, drip pans, and range hood filter
Run a cleaning cycle on the dishwasher and wipe the door seal
Scrub the sink basin and descale the faucet aerator
Wipe down small appliances including the microwave interior, toaster tray, and coffee maker
Bathrooms need extra attention because moisture creates the conditions for mold and mildew to grow quickly. The CDC notes that mold in homes can trigger respiratory issues and allergic reactions, making bathroom deep cleaning a genuine health priority, not just a cosmetic one.
Scrub tile grout with a stiff brush and a baking soda paste
Descale the showerhead by soaking it in white vinegar for 30 to 60 minutes
Discard expired personal care products, makeup, and medications
Clean behind and around the toilet base and under the rim
Wipe down exhaust fan covers and check that the fan is actually venting properly
Wash shower curtains and liners or scrub glass doors with a squeegee and cleaner
Clear and sanitize sink drains
Bedrooms
Wash all bedding including duvet covers, pillowcases, mattress protectors, and pillows
Vacuum and flip or rotate the mattress
Dust ceiling fan blades, light fixtures, and the tops of door frames
Wipe down all furniture surfaces including nightstands, dressers, and closet shelving
Vacuum upholstered headboards and under the bed
Declutter closets and donate items that have not been used in a year
Living Areas and Common Spaces
Dust blinds, curtain rods, and wash curtains if washable
Clean baseboards, crown molding, and door frames throughout
Vacuum upholstered furniture and remove cushions to clean underneath
Wipe down light switches, outlet covers, and remote controls
Clean windows inside and out, including the tracks and frames
Dust vents and returns, replacing filters if needed
If you want a room-by-room printable breakdown to carry with you as you clean, The Ultimate Checklist for Deep Cleaning Every Room is a great companion resource that walks through each space in even more detail.
How to Use This Deep Clean Checklist With Your Household
A deep clean moves faster and stays more manageable when more than one person is involved. Splitting the home deep cleaning checklist by room or by task type, such as one person dusting while another scrubs bathrooms, keeps the workload balanced. If you have kids old enough to help, assigning them age-appropriate tasks like wiping down baseboards or sorting items for donation makes the process quicker and teaches good habits.
The best approach is to save or print your deep cleaning house checklist PDF and post it somewhere visible. As tasks are completed, check them off. This gives everyone a clear picture of what is done and what still needs attention. Breaking the checklist across two days also works well for larger homes. Do kitchens and bathrooms on day one since those take the most time and do bedrooms and living areas on day two.
For many families across the Phoenix metro and surrounding communities, the reality is that life gets busy and the deep clean checklist never quite gets finished. That is exactly why the team at Elite Maids House Cleaning exists. Handing off the deep clean to a professional team means it gets done thoroughly, on schedule, and without eating your entire weekend.
When to Call a Professional for Your Home Deep Clean
There is no shame in admitting that a full home deep clean is a lot of work. Some situations genuinely call for professional help. Moving into a new home or preparing a property for move-out, getting ready for a major family event, recovering after a renovation, or simply catching up after a stretch of busy months are all good reasons to book a professional deep cleaning service.
Professional deep cleaning goes beyond what most people can accomplish on their own in a day. A trained cleaning team works with systematic checklists, commercial-grade equipment, and the kind of focused attention that comes from doing this every day. Every cleaner at Elite Maids is background-checked, fully insured, and backed by a satisfaction guarantee, meaning if anything is missed, the team comes back and makes it right at no extra cost. Online booking with instant quotes makes scheduling a same-day appointment simple, no phone call needed.
Leather furniture is one of those investments that can last decades if you treat it right, or look cracked and dull within a few years if you don’t. The good news is that cleaning leather furniture safely at home doesn’t require expensive products or a professional service call every time. A little know-how, the right supplies, and a gentle hand are all you really need. Whether you’re dealing with a buttery full-grain sofa or a bonded leather accent chair, this guide walks you through every step so your furniture stays looking as good as the day it arrived. And if your whole home needs a refresh beyond just the couch, Phoenix Valley house cleaning from Elite Maids is just a click away.
Understanding Your Leather Before You Start Cleaning
Not all leather is the same, and using the wrong method on the wrong type is one of the fastest ways to ruin your furniture. Before you grab a cloth and start scrubbing, take a moment to figure out what you’re working with.
Full-grain and top-grain leather are the most durable. They have a natural finish that holds up well to gentle cleaning.
Aniline and semi-aniline leather are dyed without a thick surface coating, which makes them feel incredibly soft but much more absorbent. Water and cleaning products can stain them quickly.
Bonded or reconstituted leather is made from leather scraps and a polyurethane binder. It’s the most affordable option but also the most fragile when it comes to cleaning.
Faux or PU leather looks like leather but is entirely synthetic. It cleans differently and we cover it separately below.
Check your furniture’s care tag. Most manufacturers use a coding system: W means water-safe, S means solvent-only, WS means either, and X means vacuum only. If you can’t find a tag, do a small patch test in a hidden area before cleaning the entire piece.
How to Clean Leather Furniture Safely: A Step-by-Step Process
Cleaning leather furniture safely is less about elbow grease and more about using the right products in the right order. Here’s the process that works for most aniline-coated and finished leather sofas, chairs, and sectionals.
What you’ll need:
Soft microfiber cloths (2 or 3)
A vacuum with a soft brush attachment
Mild dish soap or a dedicated leather care cleaner
Distilled water
A leather conditioner
Step 1: Vacuum first. Use a soft brush attachment to remove dust, crumbs, and debris from seams, cushion gaps, and tufting. Skipping this step means you’re just grinding dry particles into the surface when you wipe.
Step 2: Mix a gentle cleaning solution. Combine a few drops of mild dish soap with about a cup of distilled water. Avoid tap water in hard-water areas like Phoenix or Scottsdale, where mineral deposits can leave white residue on the leather surface.
Step 3: Wipe in sections. Dip a microfiber cloth into the solution, wring it out until it’s barely damp, and wipe the leather in small circular motions. Work in sections rather than soaking one big area at a time.
Step 4: Rinse lightly. Use a second clean cloth dampened with plain distilled water to wipe away any soap residue. Soap left on leather will attract more grime over time.
Step 5: Dry immediately. Pat the surface dry with a third cloth. Never let leather air-dry while wet; prolonged moisture is what causes cracking and mildew.
This is the core routine for safely cleaning a leather sofa at home, and doing it every few months will make a noticeable difference in how the furniture ages.
Can You Use Murphy’s Oil Soap or Home Remedies on Leather?
This is one of the most common questions people ask about cleaning leather furniture naturally. Can I use Murphy’s Oil Soap to clean a leather chair? The short answer is: with caution. Murphy’s Oil Soap is a plant-based cleaner formulated primarily for wood, and while some homeowners use it diluted on finished leather, it is not designed for leather and can strip natural oils or leave a residue depending on the leather type. If you want to clean a leather couch naturally at home, a mild dish soap and distilled water solution is a safer starting point.
Other popular home remedies for leather furniture include:
White vinegar and water (50/50 mix): Works on light surface grime and some ink stains, but always patch-test first. Vinegar is slightly acidic and can dry out aniline leather with repeated use.
Baking soda: Useful for absorbing grease spots. Sprinkle lightly, let it sit for a few hours, then brush away gently. Do not rub it in.
Coconut oil: Sometimes used as a conditioner on finished leather, but it can go rancid and darken some leather colors. Use a purpose-made leather conditioner instead.
When cleaning leather furniture with home remedies, the guiding rule is gentle and diluted. Concentrated solutions, abrasive materials, and anything with bleach or alcohol are off-limits. These dry out the fibers, break down the finish, and cause the cracking you’re trying to avoid.
How to Remove Stains from Leather Furniture
Stain removal from leather is a completely different challenge than routine cleaning, and the approach depends heavily on what caused the stain. Acting fast is the biggest factor in success. The longer a stain sits on leather, the deeper it penetrates.
Grease and oil stains: Blot immediately with a dry cloth. Do not rub. Sprinkle a small amount of baking soda or cornstarch on the spot and leave it for a few hours to absorb the oil. Brush away gently, then wipe with a barely damp cloth. Repeat if needed.
Ink stains: Dab the area with a small amount of isopropyl alcohol on a cotton swab, working from the outside of the stain inward to avoid spreading. Wipe clean with a damp cloth and condition afterward. This works best on finished leather, not aniline.
Water stains: This sounds counterintuitive, but the best fix for a water ring on leather is to lightly dampen the entire section with distilled water and let it dry evenly. Spot-drying creates rings; even drying prevents them.
Food and drink stains: Blot up the liquid or solids immediately, then clean with the mild soap and water solution outlined above.
For deep cleaning a leather couch after a serious spill or long-term neglect, consider a commercial leather cleaner. Products from brands sold at major home improvement retailers are worth comparing. Consumer Reports’ laundry and cleaning section is a reliable resource for unbiased product comparisons when you’re choosing a cleaner for your specific leather type.
Do You Need to Condition Leather Furniture After Cleaning?
Yes, and this step gets skipped far too often. Cleaning leather, even with gentle products, removes some of the natural oils that keep the material supple. Without conditioning, the leather will start to dry out, lose its sheen, and eventually crack. Leather conditioning after cleaning is not optional if you want the furniture to last.
Choose a conditioner made specifically for furniture leather. Apply a small amount to a clean microfiber cloth and work it into the surface in circular motions. Let it absorb for 10 to 20 minutes, then buff away any excess with a dry cloth. You’ll notice the leather feels softer and looks more vibrant immediately.
How often should you condition? A general rule is after every cleaning and at least twice a year regardless of cleaning frequency. In dry climates like Arizona, where indoor air can be quite low-humidity, conditioning closer to three or four times a year is worth considering.
How to Clean Faux Leather Furniture
Faux leather, also called artificial leather or PU leather, looks convincing but behaves very differently from genuine leather. The good news is that it’s generally easier to clean. The bad news is that it’s more vulnerable to peeling if you use the wrong products.
Cleaning faux leather furniture safely requires avoiding alcohol-based products, which break down the polyurethane coating and accelerate peeling. Here’s what works well:
Warm water and a drop of mild dish soap wiped on with a soft cloth
Gentle baby wipes for quick spot cleaning (check that they are alcohol-free)
A diluted white vinegar spray for surface disinfecting
Dry faux leather furniture after wiping, just as you would with genuine leather. Conditioning is not required, but if the surface starts to look dull, a small amount of petroleum jelly or a synthetic-safe conditioner can restore the sheen.
When cleaning faux leather sofas, avoid the seams when soaking with liquid. Moisture that gets under the surface layer will cause it to bubble and separate from the backing over time.
Keeping Leather Furniture Clean Between Deep Cleans
The best leather care routine is one that prevents heavy buildup so deep cleaning sessions are easier and less frequent. A few simple habits go a long way:
Dust or vacuum leather furniture weekly with a soft brush attachment
Wipe down spills immediately with a dry cloth before they penetrate the surface
Keep leather out of direct sunlight, which fades color and dries out the material. This is especially relevant in Arizona’s intense sun.
Use throw blankets or slipcovers in high-traffic areas to protect the surface from oils, pet dander, and daily wear
Keep sharp objects and pet claws away from the surface to prevent scratches
A consistent maintenance routine, combined with cleaning and conditioning every few months, will keep leather furniture looking polished for years without the need for professional restoration.
Of course, leather furniture is just one part of a well-kept home. If keeping up with everything from the sofa to the bathroom floors feels like a second job, same-day house cleaning Arizona homeowners trust is available through Elite Maids House Cleaning. We serve Phoenix, Scottsdale, Mesa, Chandler, Gilbert, Glendale, Queen Creek, San Tan Valley, Tucson, and Flagstaff with recurring, deep-clean, and move-in/move-out services. Every cleaner is background-checked, bonded, and insured, and every visit is backed by a no-cost reclean guarantee. Ready to give your home a real refresh? Contact Elite Maids house cleaning today for a free quote and book online in minutes.
The kitchen is the hardest-working room in your house. It takes on daily cooking messes, grease buildup, crumbs in every corner, and grime that quietly sneaks into places you barely think about. If your kitchen never quite looks as clean as you want it to, the problem usually is not effort. It is having a clear, organized plan. A kitchen cleaning checklist takes the guesswork out of the process and makes sure nothing gets skipped, whether you are doing a quick daily wipe-down or a full deep clean of the entire space. This guide walks you through everything, from the tools you need to a full breakdown of daily, weekly, monthly, and seasonal tasks. If you want a professionally clean kitchen without the stress, Arizona maid service teams like Elite Maids House Cleaning are ready to handle it for you.
Why You Need a Kitchen Cleaning Checklist
Most people clean their kitchens reactively, meaning they wipe something down when it looks dirty. The problem with that approach is that a lot of kitchen grime is not visible until it has built up into a real problem. Grease accumulates on cabinet fronts. Food residue hides under the refrigerator. Bacteria thrive on cutting boards and sink handles. According to the CDC’s guidance on household hygiene and cleaning, the kitchen is one of the highest-risk areas in a home for foodborne illness, making consistent, thorough cleaning critical for family health.
A kitchen cleaning checklist solves this by giving you a repeatable system. Instead of wondering what to clean or hoping you remembered everything, you work through a proven routine. A good kitchen cleaning schedule also keeps tasks manageable. When you clean consistently, nothing becomes a massive project. You spend less time overall and get better results every single time.
Must-Have Kitchen Cleaning Tools and Supplies
Before you start any kitchen cleaning routine, having the right tools on hand makes the job significantly faster and more effective. Trying to scrub baked-on grease with the wrong sponge or wipe down stainless steel with a product that leaves streaks is frustrating and wasteful. Here is what every well-stocked kitchen cleaning kit should include.
Microfiber cloths: These lift dust, grease, and bacteria far more effectively than standard cotton rags. Use separate cloths for counters, appliances, and floors.
Non-scratch scrub sponges: Great for stovetops, sink basins, and baked-on messes without damaging surfaces.
A stiff-bristle grout brush: Essential for getting into tile grout lines and around the base of the faucet.
All-purpose cleaner: Choose a product that works across counters, cabinet fronts, and appliance exteriors. If you prefer safer options for your family, look for products on the EPA’s Safer Choice certified list.
Degreaser: Necessary for range hoods, stovetops, and any surface exposed to regular cooking.
Glass cleaner: For windows, oven doors, and microwave interiors.
Baking soda and white vinegar: Two affordable, effective natural cleaners for drains, odors, and light scrubbing.
Vacuum with a hose attachment: Pulls crumbs and debris from under appliances and inside pantry shelves before you wipe them down.
Having these kitchen cleaning supplies ready before you start means fewer interruptions and a smoother process from start to finish.
How to Deep Clean a Kitchen from Top to Bottom
Deep cleaning a kitchen is not the same as a quick tidy. A proper kitchen deep clean means working through every surface, appliance, and hidden corner in a methodical order. The golden rule is to always clean from top to bottom so falling debris does not dirty surfaces you have already cleaned.
Start at the ceiling level. Wipe down light fixtures, ceiling fan blades if present, and the top of your cabinets. These collect grease and dust that drips down over time. Next, clean your range hood filter, soaking it in hot soapy water if it is metal, or replacing it if it is disposable.
Move to the walls and cabinet fronts. Grease and splatter accumulate here more than most people realize. Use a degreaser and a microfiber cloth, working in sections. Inside the cabinets, remove everything, wipe down shelves, and check for expired items before restocking.
For appliances, deep cleaning a kitchen means going inside, not just wiping the exterior. Clean the inside of your oven with an appropriate oven cleaner or a baking soda paste. Remove microwave turntables and wash them in the sink. Pull the refrigerator away from the wall to vacuum the coils and clean the floor underneath. This step alone can dramatically improve how well your refrigerator runs.
Finish at floor level. Sweep or vacuum first, then mop thoroughly. Pay attention to the area under the toe kicks of your cabinets and beneath every appliance you can move.
For households with limited time, scheduling a periodic deep cleaning service Arizona residents trust means this level of thorough cleaning happens consistently without it falling to the bottom of your to-do list. Also, if you want a broader whole-home approach, check out The Ultimate House Cleaning Checklist for Chandler Homeowners for room-by-room guidance beyond the kitchen.
Daily, Weekly, and Monthly Kitchen Cleaning Schedule
One of the most practical parts of any kitchen cleaning checklist is breaking tasks into a realistic schedule. Not everything needs to happen every day, and knowing the difference saves you time without letting things slide.
Daily kitchen cleaning tasks:
Wipe down countertops and the stovetop after cooking
Wash or load dishes into the dishwasher
Wipe out the sink and dry it to prevent water spots and bacteria growth
Sweep or spot-clean the floor
Empty the trash before it overflows
Wipe the handles on appliances and the refrigerator door
Weekly kitchen cleaning tasks:
Scrub the sink basin thoroughly
Clean the interior of the microwave
Wipe down cabinet fronts and appliance exteriors
Mop the kitchen floor completely
Clean out the refrigerator and toss expired food
Wipe down the inside of the trash can
Monthly kitchen cleaning tasks:
Deep clean the oven interior
Clean the range hood filter
Wipe down the inside of all cabinets and pantry shelves
Declutter and reorganize the pantry
Scrub tile grout on counters and backsplash
Clean window sills and kitchen windows
Wash any kitchen window treatments or curtains
Pull out the refrigerator and stove to clean behind them
Sticking to this kind of layered kitchen cleaning routine means your kitchen stays in excellent shape without any single session becoming overwhelming. According to Good Housekeeping’s cleaning resources, consistent daily and weekly habits are the biggest factor in keeping a kitchen genuinely clean, not just surface-level tidy.
Seasonal Kitchen Deep Clean Tasks Worth Adding to Your Checklist
Beyond your monthly routine, a few times a year your kitchen benefits from an even deeper level of attention. A seasonal kitchen cleaning pass catches the things that build up slowly over months and that a standard weekly or monthly routine does not quite reach.
For your seasonal kitchen cleaning checklist, include these tasks:
Wash all window treatments, including curtains, blinds, or café curtains hanging in the kitchen
Clean the tops of all upper cabinets, which collect grease and dust throughout the year
Descale your coffee maker, kettle, and any other small appliances that build up mineral deposits
Move every large appliance, including the refrigerator, stove, and dishwasher, and deep clean the floor and walls behind and underneath each one
Replace any worn sponges, dish brushes, and kitchen towels
Inspect and clean the garbage disposal, using ice and rock salt or a disposal cleaning product
Wipe down and organize your spice cabinet or drawer, discarding anything past its best-by date
Many Arizona families schedule a professional deep clean at the start of each season so this level of thorough kitchen cleaning happens reliably. If you manage a rental property or short-term rental, the approach in The Ultimate Airbnb Cleaning Checklist for Queen Creek Hosts offers useful overlap for keeping a kitchen guest-ready year-round.
Tips for Sticking to a Consistent Kitchen Cleaning Routine
Having a kitchen cleaning checklist is only useful if you actually use it. The biggest obstacle for most homeowners is not knowing what to do. It is finding the time and motivation to do it consistently. Here are some practical strategies that make a real difference.
Attach cleaning to an existing habit. Wipe down the stovetop every time you finish cooking. Clean the sink every night before bed. Pairing a cleaning task with something you already do every day removes the need to remember it separately.
Set a timer. Most daily kitchen cleaning tasks take under ten minutes. Knowing there is a defined end point makes it easier to start.
Keep your supplies accessible. If your cleaning products are stored under the sink where you cook, you are far more likely to use them. Out of sight really does mean out of mind.
Print or post your checklist. A physical list on the inside of a cabinet door is a constant, low-pressure reminder of what belongs in your routine.
Delegate tasks. In a household with multiple people, a kitchen cleaning schedule works best when tasks are shared. Assign daily responsibilities so one person is not carrying the full load.
Book professional help for deep cleans. For the bigger sessions, removing the job from your plate entirely keeps your routine manageable and your kitchen consistently clean.
When to Call in a Professional Kitchen Cleaning Team
Even the most organized homeowner reaches a point where the kitchen needs more than a checklist can deliver on its own. Grease that has had months to harden, grime behind appliances that have not moved in years, or a move-out clean where the kitchen needs to be spotless for an inspection are all situations where professional kitchen cleaning services make a significant difference.
Elite Maids House Cleaning offers recurring kitchen cleaning as part of weekly, biweekly, and monthly house cleaning plans, as well as standalone deep cleans for homes across Phoenix, Mesa, Scottsdale, Gilbert, Chandler, Glendale, Queen Creek, San Tan Valley, Tucson, and Flagstaff. Every cleaner is background-checked, bonded, fully insured, and backed by a reclean-at-no-cost guarantee. You can book online in minutes and get an instant quote without picking up the phone.
Whether you need a one-time kitchen deep clean before a family gathering or a consistent cleaning schedule to keep your home looking its best year-round, contact Elite Maids House Cleaning today for a free quote and find out how easy it is to have a kitchen you are genuinely proud of.
The Ultimate Room-by-Room Apartment Cleaning Checklist
SHARE:
Keeping an apartment truly clean takes more than a quick wipe-down before guests arrive. Whether you just moved in, are preparing for a move-out inspection, or simply want a complete home cleaning checklist to follow every week, a solid room-by-room apartment cleaning checklist is the tool that keeps chaos from creeping back in. This guide walks you through every space in your home, gives you practical steps for each one, and answers the questions most people forget to ask before they pick up a sponge. If you want to see how Elite Maids House Cleaning can help skip the scrubbing altogether, that option is always on the table, but if you are a DIY type, this checklist has everything you need.
How to Build Your Apartment Cleaning Checklist: Top-to-Bottom Strategy
Before you touch a single surface, the single biggest mistake most people make is cleaning without a plan. A room-by-room cleaning checklist works best when you follow a top-to-bottom, left-to-right system. Start at the ceiling and work your way down so dust and debris fall onto surfaces you have not cleaned yet. This apartment cleaning checklist strategy keeps you from doing the same work twice.
A complete home cleaning checklist should also account for frequency. Not every task belongs on your weekly list. Break your checklist into three tiers:
If you are working through a new apartment cleaning list after a move-in, treat the entire space as a deep clean first. You do not know how the previous tenant cleaned, and starting from a known baseline saves headaches later. For a thorough walkthrough of what a deep clean actually covers, check out The Ultimate Deep Clean Checklist for Your Home for a detailed room-by-room guide you can run alongside this one.
According to Good Housekeeping’s cleaning team, cleaning with a consistent system cuts total cleaning time by nearly half compared to tackling tasks randomly. That is not a small difference when your weekends are already packed.
What Is the 20 Minute Rule in Cleaning?
The 20 minute rule in cleaning is a time-boxing method where you set a timer for 20 minutes and clean as much as you can in one focused sprint, then stop. The idea is that most people avoid cleaning because the task feels endless. When you put a hard stop on it, getting started feels far less overwhelming. This technique is especially useful for apartment renters who want to maintain a clean space without spending their entire weekend on it.
You can apply the 20 minute rule to a single room or to a specific category of tasks, such as all the bathrooms in the apartment. Paired with a room-by-room cleaning checklist, it becomes a surprisingly effective routine. Many people find they accomplish more in a focused 20-minute block than in an unfocused hour where they keep getting distracted.
Apartment Cleaning Checklist: Kitchen
The kitchen takes the most punishment of any room in an apartment. Grease, food residue, and moisture build up fast, and they attract pests if left unchecked. Your kitchen apartment cleaning checklist should cover these tasks:
Wipe down all countertops and the backsplash with an all-purpose cleaner
Clean the stovetop, including the burner grates or glass surface
Wipe the outside and inside of the microwave
Clean the sink and faucet, scrubbing around the drain
Wipe down cabinet fronts and drawer pulls
Clean the refrigerator exterior and, monthly, the interior shelves
Sweep and mop the floor, paying attention to the corners near the stove and refrigerator
Empty and reline the trash can, wiping the inside if needed
For a kitchen deep clean, pull the refrigerator and stove away from the wall and clean behind them. Grease and crumbs accumulate back there quickly, and that buildup is a contributor to poor indoor air quality over time. A complete home cleaning checklist always includes these behind-appliance zones even if you only tackle them quarterly.
If you want to use safer products in your kitchen, look for EPA Safer Choice certified cleaners. You can browse options through the EPA Safer Choice program, which lists products that meet strict health and environmental standards.
Apartment Cleaning Checklist: Bathroom
Bathrooms are small but they hold a lot of bacteria and mold potential. A bathroom apartment cleaning checklist done consistently keeps the room both safe and presentable. Here is what to cover every week:
Scrub the toilet bowl with a toilet brush, then wipe the seat, lid, tank, and base with a disinfectant
Scrub the bathtub or shower walls and floor, paying close attention to grout lines
Scrub and wipe down the sink and faucet
Use glass cleaner to wipe down the mirrors
Use an all-purpose cleaner to wipe countertops and any shelving
Sweep and mop or wipe down the floor
Empty the trash can and replace the liner
Grout and caulk deserve extra attention on a monthly basis. Mold grows in grout lines, and it spreads fast in humid conditions. The CDC’s mold guidance for homes recommends fixing moisture problems and cleaning visible mold promptly to prevent health issues. If you spot mold that goes beyond surface grout, call in a professional. Routine bathroom cleaning prevents most mold from taking hold in the first place.
For Arizona residents, where dust and hard water are real everyday problems, a bathroom cleaning checklist should include wiping mineral deposits off faucets and showerheads with a vinegar solution at least once a month.
Apartment Cleaning Checklist: Living Room and Bedroom
The living room collects dust, pet hair, and clutter faster than any other room because it gets the most traffic. Your living room cleaning checklist should include these steps:
Dust all surfaces from top to bottom: ceiling fans, shelves, entertainment units, baseboards
Vacuum upholstered furniture, including under the cushions
Wipe down hard furniture surfaces with a damp cloth
Clean any glass surfaces, including TV screens, with a microfiber cloth and appropriate cleaner
Vacuum the carpet or sweep and mop hard floors
Straighten and put away items, keeping clutter from building up
For the bedroom, your cleaning checklist should focus on textiles and surfaces:
Strip and wash bed linens weekly
Dust nightstands, dressers, and any shelving
Vacuum under the bed and along the baseboards
Clean mirrors and any glass surfaces
Wipe down light switches and door handles, which collect germs constantly
A consistent bedroom cleaning schedule is one of the clearest recommendations from any list for deep cleaning a house room by room, because dust mites thrive in bedding and upholstery. Washing sheets in hot water every week is one of the most effective steps you can take for better sleep and air quality.
Vacant Apartment Cleaning Checklist for Move-In and Move-Out
A vacant apartment cleaning checklist is a different animal from your regular weekly routine. Whether you are moving into a new place or trying to get your security deposit back, a move-in and move-out clean covers everything, including spots that never get touched during normal maintenance.
A thorough vacant apartment cleaning should include:
Cleaning inside all cabinets and drawers
Wiping down the inside of the oven and refrigerator
Cleaning window tracks and sill ledges
Scrubbing grout throughout the bathroom and kitchen
Cleaning all light fixtures and ceiling fans
Wiping down all walls, doors, and door frames
Deep cleaning carpets or scrubbing hard floors
Checking and cleaning the inside of closets
This level of cleaning is exactly where a professional house cleaning service in Arizona pays for itself. What takes a solo renter a full day can be handled faster and more thoroughly by a trained team with the right equipment. If you are in Glendale, you can find a detailed local guide in our post on The Ultimate Apartment Cleaning Checklist for Glendale Residents, which covers local-specific tips alongside the full room-by-room breakdown.
Cleaning Supplies Every Apartment Should Have
No apartment cleaning checklist works without the right tools. Here is a practical list of cleaning supplies that covers every room without cluttering your cabinet with products you will never use:
All-purpose cleaner: Works on countertops, cabinet fronts, and most hard surfaces
Disinfectant spray or wipes: For high-touch areas like door handles, light switches, and toilet surfaces
Glass cleaner: For mirrors, windows, and TV screens
Toilet bowl cleaner and brush
Baking soda and white vinegar: Natural options for scrubbing grout, cutting grease, and deodorizing
Microfiber cloths: These trap dust better than paper towels and can be washed and reused
A vacuum with attachments: For floors, upholstery, and tight corners
Mop and bucket or a spray mop: For hard floors
Scrub brush: For grout, tile, and tough kitchen messes
If you want to go the eco-friendly route, Real Simple’s cleaning guides offer solid comparisons of natural cleaning products and methods that actually work. Swapping to non-toxic cleaners is a simple change that reduces chemical exposure for your whole household, particularly if you have kids or pets.
Keep your supplies organized in a portable caddy so you can carry everything from room to room without multiple trips. It sounds like a small thing but it saves time every single cleaning session.
An apartment cleaning checklist is only as useful as your commitment to following it. The structure is simple: work top to bottom, tackle each room in order, and keep your supplies stocked. Whether you use the 20 minute rule to chip away at it daily or set aside a couple of hours on the weekend, the room-by-room approach keeps your home from ever reaching the point where cleaning feels like a full renovation project. And if life gets ahead of the checklist, there is always a better option. Contact Elite Maids House Cleaning today for a free quote and let Arizona’s most-reviewed cleaning team handle the hard work so you can get your weekends back.
The Complete Apartment Cleaning Checklist (For Busy People)
SHARE:
Life moves fast, and apartment cleaning often falls to the bottom of the to-do list. Between work, family, and everything else pulling at your time, it can feel like the mess just keeps piling up no matter how hard you try to stay on top of it. The good news is that a solid apartment cleaning checklist takes the guesswork out of the process and makes it much easier to keep your space looking great without spending your entire weekend scrubbing.
This complete apartment cleaning checklist is built for busy people who want a clean home but need a realistic, structured plan to get there. Whether you are managing daily tidying, following a weekly apartment cleaning routine, or scheduling a deep clean a couple of times a year, this guide covers every frequency you need. If you ever want to skip the effort entirely, you can always book a house cleaning in Arizona with a trusted local team and get your time back for good.
Your Daily Apartment Cleaning Routine
A daily cleaning routine does not have to take more than ten or fifteen minutes. The whole point of doing small tasks every day is to prevent the kind of buildup that turns a quick tidy into a full-blown cleaning project. Think of your daily apartment cleaning habits as maintenance, not a chore marathon.
Here is what a realistic daily cleaning schedule looks like:
Make your bed as soon as you get up. It sets the tone for the whole room.
Wipe down kitchen counters after every meal or food prep session.
Wash dishes or load them into the dishwasher right after eating.
Squeegee or wipe the shower walls after each use to prevent soap scum and mold buildup.
Do a quick five-minute sweep of your living area before bed, putting things back in their place.
Empty small trash bins in the bathroom or bedroom if they are getting full.
These daily habits are the foundation of every good apartment cleaning checklist. Consistent small actions keep your space manageable and mean your weekly and monthly cleaning sessions go much faster. According to Good Housekeeping, staying consistent with quick daily tasks is one of the most effective strategies for keeping a home clean without putting in hours of effort.
Weekly Apartment Cleaning Checklist
Once a week, it is time to go a layer deeper. Your weekly apartment cleaning checklist covers the areas that collect dust, grime, and bacteria faster than most people realize. This is the core of a good apartment cleaning routine, and sticking to it every seven days keeps things from spiraling out of control.
Run through these tasks once a week:
Vacuum all floors, rugs, and upholstered furniture surfaces.
Mop hard floors with an appropriate cleaner for the surface type.
Clean and disinfect the toilet, sink, and tub or shower in every bathroom.
Wipe down kitchen appliances, including the stovetop, microwave exterior, and refrigerator handle.
Clean mirrors and any glass surfaces throughout the apartment.
Dust ceiling fans, light fixtures, and surfaces like shelves and TV stands.
Take out all trash and replace bin liners.
Change bed linens and pillowcases.
Wipe down light switches and door handles, which are high-touch surfaces that collect germs quickly.
A printed or saved weekly apartment cleaning checklist template can help you stay accountable, especially when life gets hectic. Even following roughly 80 percent of this list each week makes a noticeable difference compared to cleaning randomly whenever things look bad.
Monthly Cleaning Tasks Every Apartment Needs
A monthly cleaning schedule targets areas that do not need attention every week but will cause real problems if they are ignored for months at a time. These tasks take a bit more effort, but doing them once a month keeps your apartment in genuinely good condition rather than just surface-clean.
Add these to your monthly cleaning routine:
Clean inside the microwave, oven, and refrigerator.
Wipe down cabinet fronts and drawer pulls in the kitchen and bathroom.
Wash or vacuum window treatments, including blinds and curtains.
Scrub grout lines in the bathroom tile.
Clean the inside of the dishwasher and washing machine to remove residue and odors.
Dust baseboards, door frames, and wall corners.
Wipe down the inside of your bathroom and kitchen trash cans before putting in a fresh liner.
Clean air vents and replace any HVAC filters if applicable to your unit.
The monthly section of your apartment cleaning checklist is also a good time to check for early signs of mold in damp areas like the bathroom or under the sink. The EPA’s mold guidance makes it clear that catching moisture problems early is far easier than dealing with an established mold issue later.
Once or Twice a Year Deep Cleaning Checklist for Apartments
Even the most diligent weekly cleaner benefits from a thorough apartment deep cleaning once or twice a year. This is the reset your home needs to address the spots that fall outside normal cleaning cycles. An apartment deep cleaning checklist typically covers things you never touch week to week but that absolutely need attention over time.
Schedule these tasks every six to twelve months:
Clean behind and underneath large appliances like the refrigerator, stove, and washing machine.
Wash walls and baseboards top to bottom.
Steam clean carpets or have them professionally cleaned.
Clean window tracks, sills, and the glass inside and out.
Declutter closets and storage areas, donating or discarding items no longer in use.
Sanitize the insides of all cabinets and drawers.
Flip or rotate your mattress and vacuum it thoroughly.
Clean light fixtures by removing covers and washing them.
Wipe down all walls in the bathroom to address soap residue and humidity stains.
This semi-annual deep clean is also the right time to think about indoor air quality. Poor cleaning habits over time can allow volatile organic compounds and other pollutants to accumulate inside your apartment, so clearing out dust and residue from hard-to-reach areas genuinely matters for your health, not just appearance.
For an even more thorough breakdown of how to approach each room individually, take a look at The Ultimate Room-by-Room Apartment Cleaning Checklist, which walks you through exactly what to clean in each space of your home.
Tips to Keep Your Apartment Clean With Less Effort
The best apartment cleaning strategy is one that reduces the total effort you put in over time. These tips to keep your apartment cleaner with less work are practical, proven, and easy to start today.
Use a cleaning caddy. Keeping all your supplies in one portable caddy means you never waste time hunting for products. Grab it and go room to room without backtracking.
Clean as you go. Wiping a surface right after you use it takes ten seconds. Letting residue bake on for a week takes ten minutes of scrubbing. The math is obvious.
Set a timer. Committing to fifteen focused minutes of cleaning beats telling yourself you will do it later. A timer makes cleaning feel finite and manageable.
Use doormats and a no-shoes policy. Most of the dirt in your apartment walks in on the bottom of shoes. A simple mat and a no-shoes rule at the door cut your floor cleaning time significantly.
Declutter regularly. Fewer items mean fewer surfaces to clean around. A quick monthly declutter makes every other cleaning task faster.
Choose the right products. Using the correct cleaner for each surface means you spend less time scrubbing. Consumer Reports regularly tests and ranks cleaning products so you can buy smart instead of just buying more.
When to Hire a Professional Apartment Cleaning Service
Even the best apartment cleaning checklist has its limits. There are times when hiring a professional apartment cleaning service is simply the smarter call, not a luxury. Knowing when to bring in help saves you stress, time, and often money compared to tackling a neglected space on your own.
Consider professional apartment cleaning when:
You are moving in or out of an apartment and need a thorough clean to meet lease requirements or get your deposit back.
You have not deep cleaned in six months or more and the buildup is beyond what a weekend can fix.
You are hosting an event or family gathering and need the apartment in top shape fast.
Your schedule has become too demanding to maintain a consistent cleaning routine on your own.
You want to set up a recurring weekly or biweekly cleaning service so the work is simply handled for you going forward.
A Arizona cleaning company like Elite Maids House Cleaning brings background-checked, fully insured cleaners to your door, backs every visit with a satisfaction guarantee, and makes booking as easy as getting an instant online quote. For Arizona residents across Phoenix, Scottsdale, Mesa, Gilbert, Chandler, Glendale, Queen Creek, San Tan Valley, Tucson, and Flagstaff, professional apartment cleaning is closer and more affordable than most people expect.
Ready to stop fighting your cleaning checklist and start enjoying a consistently clean home? Contact Elite Maids House Cleaning today for a free quote and find out how easy it is to hand the work off to Arizona’s most-reviewed residential cleaning team. Same-day availability, eco-friendly product options, and a reclean guarantee mean you have nothing to lose and a lot of free time to gain.