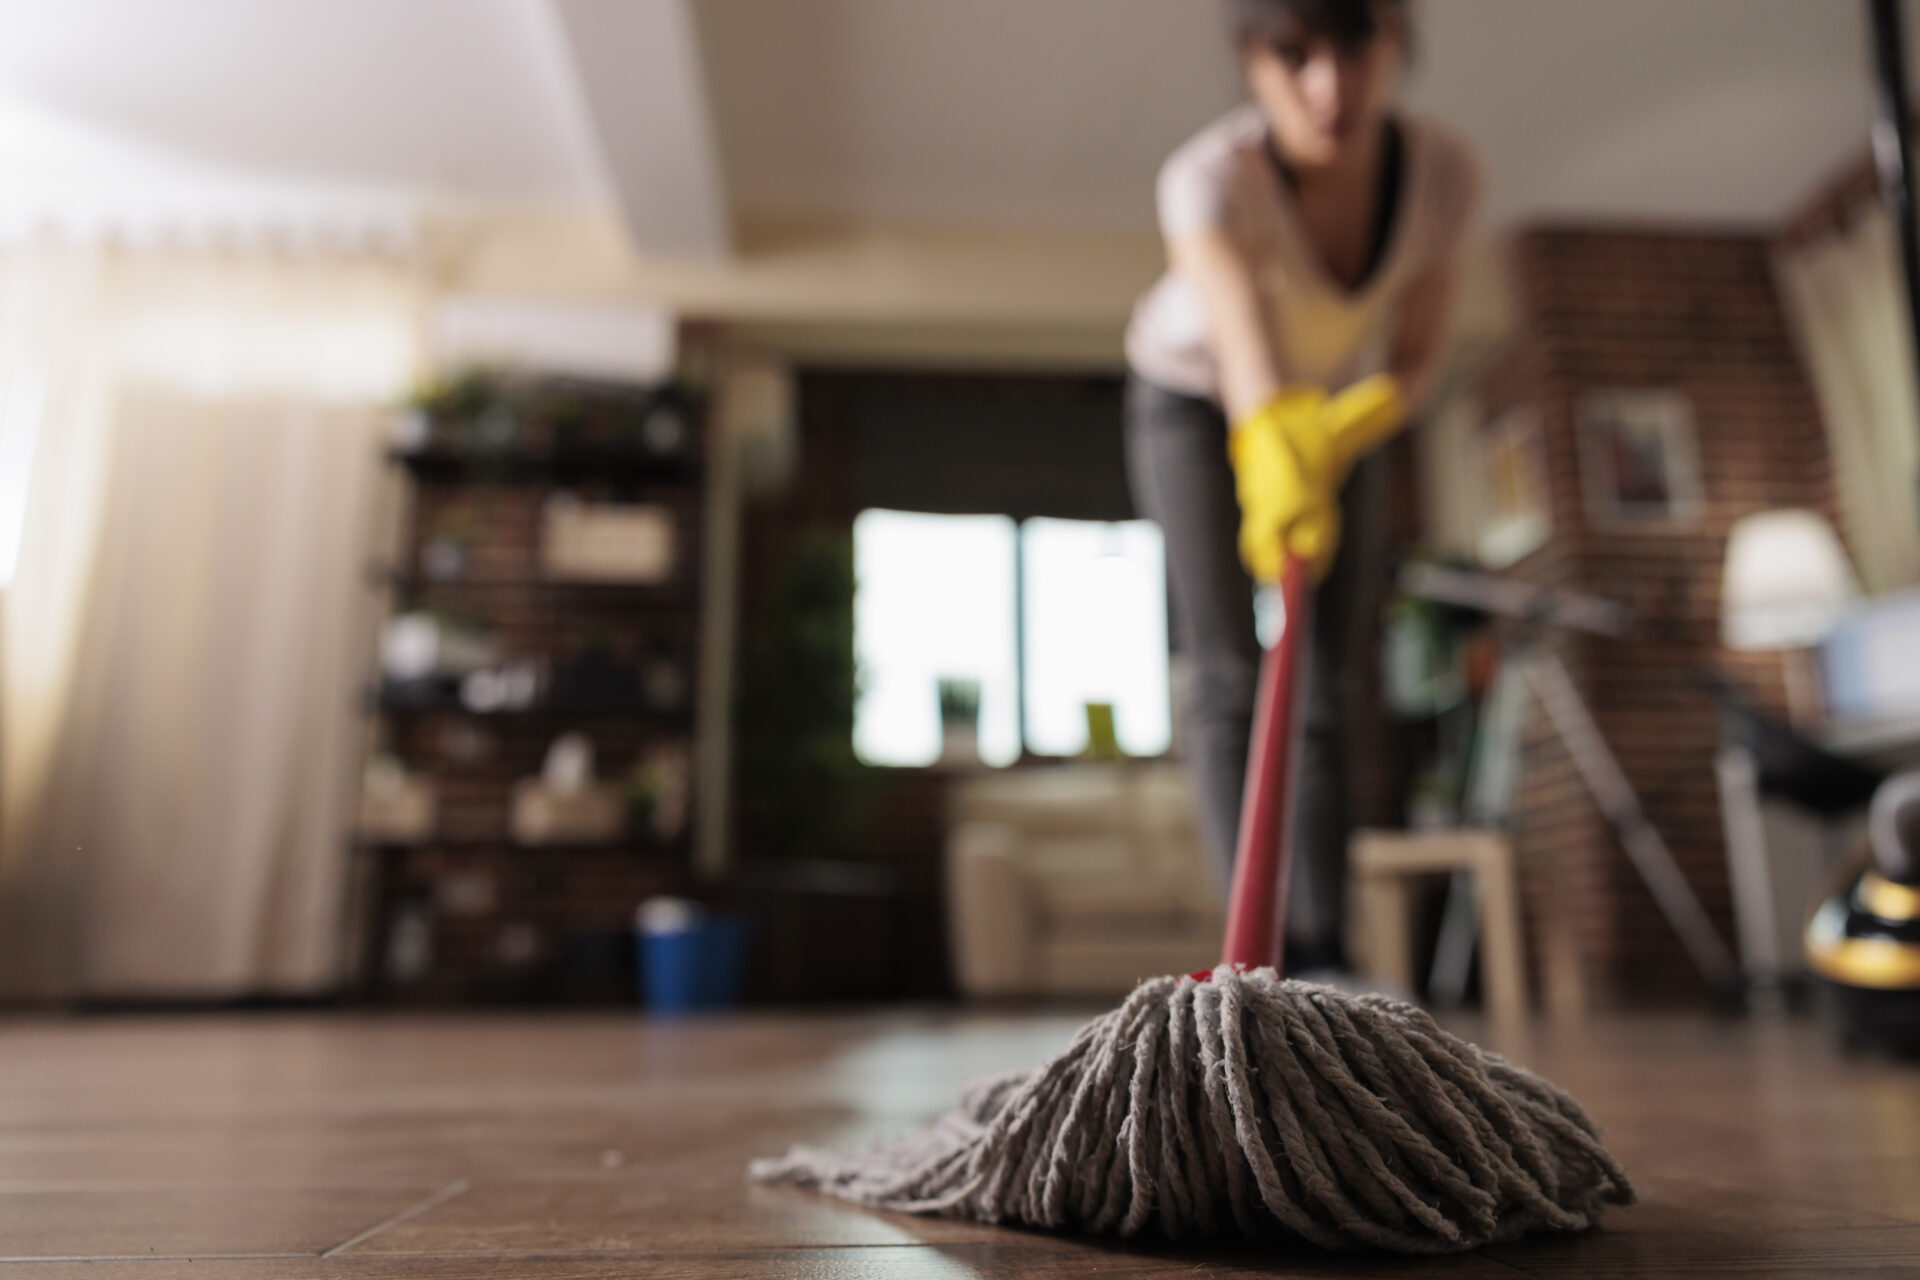
In the realm of home cleaning, our trusty mop is an invaluable ally. It’s our go-to soldier, bravely taking on the spills, dust, and grime that life throws our way. However, in the process of keeping our floors spotless, the mop itself can become a breeding ground for dirt and bacteria. To ensure your mop is always ready for action and keep your hardwood floor clean, it’s crucial to keep it clean. This comprehensive guide walks you through the process of washing a dirty mop to maintain a dust free room.
The Importance of a Clean Mop
A mop can often appear clean after a quick rinse, but don’t let this deceive you. Hidden within its fibers are microorganisms that can cause unpleasant odors and, in some cases, even illness. If the mop head isn’t cleaned properly, it can spread these germs around your home during your next cleaning spree. Regularly cleaning your mop is an effective way to maintain a healthier home environment. Here’s an elaborate step-by-step guide to washing a dirty mop.
Rinse
The first step to cleaning your mop is to rinse it thoroughly. When you’ve finished mopping, your mop will be saturated with dirt, grime, and potentially bacteria. By rinsing it under warm water as soon as you’re done, you can remove a significant portion of this surface dirt, making the subsequent cleaning process more manageable.
To do this, hold the mop under a stream of running warm water. Using your hands, squeeze and agitate the mop fibers to help dislodge dirt. Continue until the water runs clear.
Soak
Next, it’s time for a deep cleanse. Prepare a soaking solution consisting of one cup of bleach or vinegar for every gallon of warm water in a bucket. The bleach or vinegar acts as a disinfectant, helping to kill bacteria lurking in the mop head, while the warm water helps to further loosen embedded dirt.
Submerge your mop head into this solution, ensuring it’s fully covered. Allow it to soak for about 15 minutes. During this time, the disinfectant will work its magic, killing germs and breaking down stubborn dirt.
Scrub
After soaking, it’s time to get a little hands-on. Using a clean brush, scrub the mop head gently but thoroughly. This step works to remove any remaining dirt particles that have been loosened by the soaking process.
Ensure you scrub all areas of the mop head, paying particular attention to spots that appear more soiled. Remember to be gentle; vigorous scrubbing can damage the mop fibers.
Rinse Again
Following the scrubbing session, give your mop another thorough rinse with warm water. It’s vital to rinse out all traces of the soaking solution. Residue bleach or vinegar could potentially harm your floors or leave unwanted streaks during your next mopping session.
To ensure all the solution is gone, keep rinsing until the water running from the mop is completely clear and free of suds.
Dry
Finally, your mop needs to be dried properly before storage. Start by wringing out as much excess water as you can manually. Then hang the mop up in a well-ventilated area where it can air dry.
Ensure the mop head is fully dry before storing it away; damp conditions can encourage mold and mildew growth. If possible, hang it with the mop head facing downward to facilitate faster drying.
By following these steps regularly after each use, you’ll ensure your mop is always clean, fresh, and ready for action. A clean mop not only works more effectively but also helps prevent the spread of bacteria around your home. So next time you finish mopping your floors, don’t forget to give your mop the cleaning treatment it deserves!