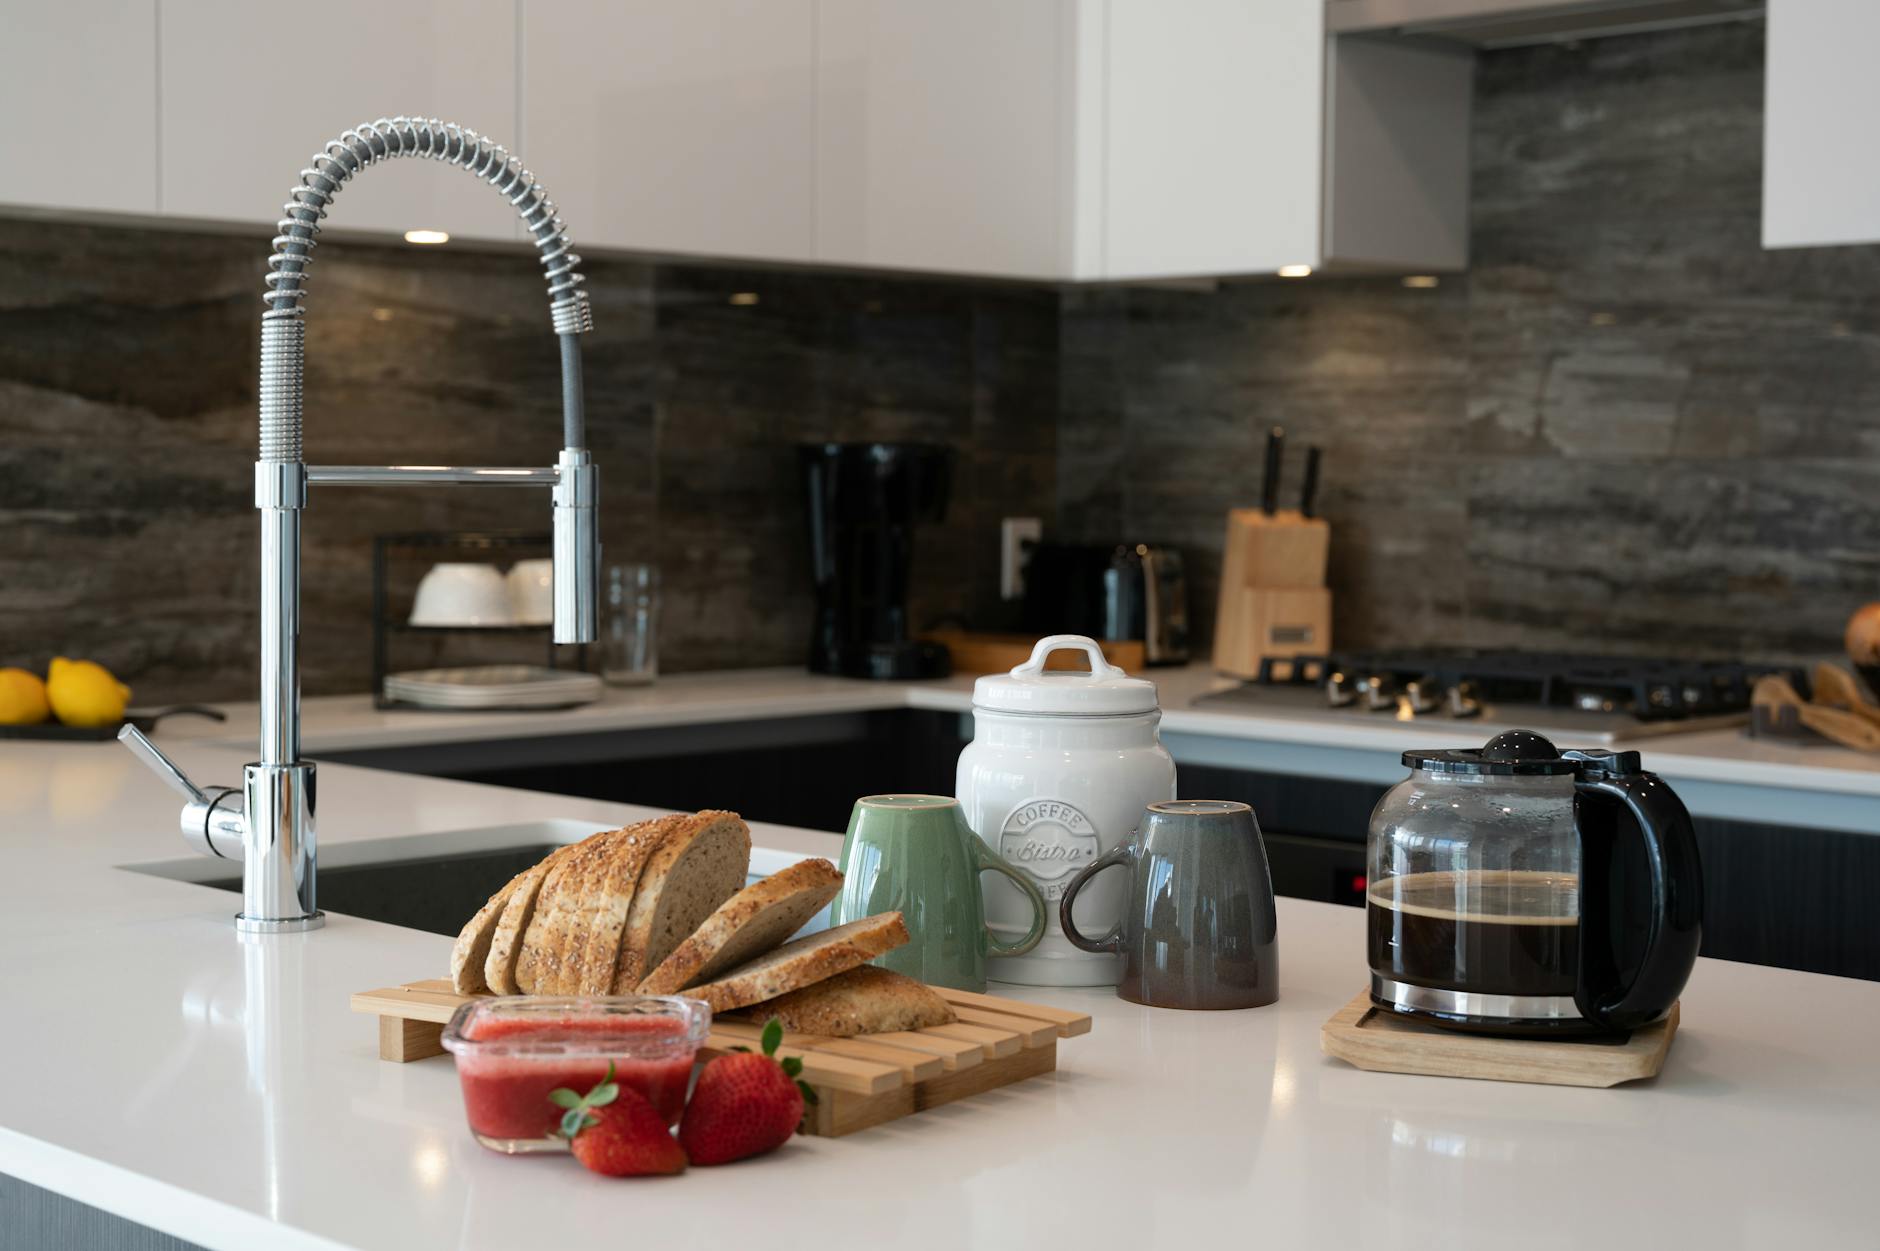
How to Clean a Coffee Maker with Vinegar in Arvada
SHARE:
To clean a coffee maker with vinegar, fill the water reservoir with equal parts white vinegar and water, run a brew cycle halfway, let it sit for 30 minutes, then complete the cycle. Follow up with two full cycles of plain water to rinse out any residual vinegar taste. This post covers every step in detail, plus tips on how often to clean your machine and what else you can do to keep your kitchen spotless in Arvada.
Why Cleaning Your Coffee Maker with Vinegar Actually Matters
Most people wipe down the outside of their coffee maker and call it clean. The problem is what builds up on the inside over time. Hard water leaves behind limescale deposits that clog the heating element, slow brew times, and make your coffee taste off. Oils from ground coffee also accumulate inside the carafe and along the brew basket, turning bitter and rancid if left too long.
White vinegar is one of the most effective natural descalers available because its acetic acid dissolves mineral buildup without leaving harmful chemical residue behind. According to Good Housekeeping’s cleaning guides, regular descaling with a diluted vinegar solution can extend the life of your appliance by years. That is good news for Arvada homeowners who want to keep their kitchen running well without buying a new machine every few years.
Skipping this step does real damage. Mineral scale insulates the heating element, forcing it to work harder to reach brewing temperature. You end up with lukewarm coffee and a shorter appliance lifespan. Cleaning your coffee maker with vinegar every one to three months solves both problems with a product you almost certainly already have under your sink.
If you want a broader approach to deep cleaning your kitchen appliances, check out this guide on kitchen deep cleaning in Santa Fe for a room-by-room framework you can apply at home.
What You Need Before You Start
Cleaning a coffee maker with vinegar requires almost nothing you would need to buy. Here is a quick list of what to gather before you begin:
Distilled white vinegar (plain household vinegar, not apple cider)
Fresh cold water
A clean dish towel or paper towels
Dish soap and a soft sponge for the removable parts
A small cleaning brush for the brew basket (optional but helpful)
That is it. You do not need a specialty descaling tablet or a commercial cleaning product. The vinegar solution does the heavy lifting on its own. If your machine has a mineral buildup indicator light, this process will reset it once the heating element is fully clear.
One thing worth checking before you start: your machine’s manual. Some manufacturers, particularly those that make single-serve pod brewers, recommend a specific ratio or cycle count. For a standard drip coffee maker, the 50/50 vinegar-to-water ratio is the widely accepted standard covered by sources like The Spruce’s cleaning section.
Step-by-Step: How to Clean a Drip Coffee Maker with Vinegar
Follow these steps in order to clean your drip coffee maker with vinegar thoroughly and safely. This process takes about an hour total, but most of that is hands-off wait time.
Step 1: Empty and Rinse the Machine
Remove any coffee grounds from the brew basket and discard them. Rinse the carafe with warm water to remove old coffee residue. If the carafe has staining, a quick soak in warm soapy water while you run the vinegar cycle handles it easily.
Step 2: Fill the Reservoir with Your Vinegar Solution
Mix equal parts white vinegar and cold water. Pour the mixture into the water reservoir up to its full capacity. Place the empty carafe back on the warming plate and insert a clean paper filter into the brew basket.
Step 3: Run a Half Cycle
Start a normal brew cycle. When the machine has brewed about half of the reservoir, turn the coffee maker off. Let the vinegar solution sit inside the machine for 30 to 60 minutes. This soak time is what allows the acetic acid to break down limescale deposits inside the boiler and along the water lines.
Step 4: Complete the Brew Cycle
Turn the coffee maker back on and let it finish the remaining half of the vinegar-water mixture. Once the cycle is complete, pour the liquid from the carafe down the drain and remove the used paper filter.
Step 5: Run Two Full Water Rinse Cycles
Fill the reservoir with plain cold water to its maximum level and run a complete brew cycle. Discard the water. Repeat this a second time. Two full rinse cycles remove all traces of vinegar so your next pot of coffee tastes clean. Some Arvada residents with older machines or heavy mineral buildup run a third rinse cycle just to be safe.
Step 6: Hand Wash the Removable Parts
While the machine is still warm but not hot, wash the carafe, brew basket, and lid with warm soapy water. A soft sponge handles most residue. For stubborn coffee staining inside the carafe, a paste of baking soda and a little water scrubbed gently with a sponge works well. Rinse everything thoroughly before reassembling.
How Often Should You Clean Your Coffee Maker with Vinegar
The right frequency depends on how often you brew and what kind of water you use. In Arvada, where the water supply comes through municipal treatment and can carry moderate mineral content, buildup can happen faster than people expect.
Daily coffee drinkers: Clean your machine with vinegar every 4 to 6 weeks.
Occasional users (a few times per week): Every 2 to 3 months is sufficient.
Households with hard tap water: Move toward the shorter end of whichever range applies to you.
Signs that your machine needs cleaning sooner than scheduled include longer brew times, coffee that tastes bitter or weak, a gurgling or sputtering sound during brewing, or visible mineral deposits around the water reservoir opening. If your machine has a descaling or clean indicator, trust it.
Consumer Reports notes in its appliance and cleaning coverage that skipping descaling is one of the leading causes of premature coffee maker failure. A few minutes every month or two is a reasonable trade for an appliance that can cost $100 or more to replace.
While you are in that cleaning routine mindset, it is worth checking our ultimate guide to spring cleaning for a full home reset that goes far beyond the kitchen.
Cleaning a Keurig or Single-Serve Coffee Maker with Vinegar
The vinegar descaling method works on single-serve brewers too, but the process is slightly different because there is no traditional carafe or brew basket involved. If you have a Keurig or similar pod machine, here is how to adapt the cleaning steps.
First, remove and hand wash the water reservoir, lid, mug tray, and K-cup holder with warm soapy water. Set them aside to dry. Fill the reservoir with a 50/50 white vinegar and water solution. Place a large mug under the brew head and run the largest cup size available, without inserting a pod. Continue running brew cycles until the reservoir is half empty, then let the machine sit for 30 minutes before finishing.
Once the vinegar solution is fully brewed through, refill the reservoir with plain water and run at least three full rinse cycles. Single-serve machines have more internal tubing and a needle that punctures pods, so they tend to hold onto vinegar taste a bit longer than drip brewers. Three rinse cycles is the minimum.
For Arvada households using a pod-style brewer as part of a busy morning routine, a clean machine makes a real difference. Mineral buildup in a single-serve brewer is more likely to cause visible scaling around the needle and reservoir connection, and it can affect cup temperature noticeably.
When you are in deep-clean mode throughout the kitchen, deep cleaning services from a professional team can take care of the larger tasks while you handle appliance maintenance yourself. For a complete home deep clean checklist, the deep clean checklist for Queen Creek homeowners offers a thorough room-by-room structure that applies equally well to Arvada homes.
If you want a similar deep-dive focused on drip machines in another Arizona community, the coffee maker cleaning guide for Mesa homeowners covers several useful variations on the vinegar method.
Meanwhile, Arvada neighbors looking for reliable Summit cleaning Arvada options for their whole home can find professional crews ready to handle what the vinegar rinse cannot.
Natural Alternatives and When to Use Them
White vinegar is the most accessible and effective household option for descaling a coffee maker, but it is not the only one. Here are a few natural alternatives that Arvada residents sometimes ask about, along with honest guidance on when they make sense.
Baking Soda
Baking soda is a mild abrasive and deodorizer that works well for cleaning the carafe and brew basket but does not descale the internal components effectively. Use it for surface staining, not as a substitute for the vinegar cycle.
Lemon Juice
Diluted lemon juice contains citric acid and can work as a descaler in a pinch. Mix one part lemon juice with two parts water and follow the same cycle process. The downside is that lemon juice leaves a stronger taste residue than vinegar and requires more thorough rinsing.
Commercial Descaling Tablets
Products like Dezcal and similar commercial descalers are formulated specifically for coffee makers and are particularly useful for espresso machines or brewers with brass or aluminum components that can be sensitive to high concentrations of acetic acid. For standard drip machines, the vinegar solution is sufficient and far less expensive.
The EPA Safer Choice program is a useful resource for Arvada homeowners who want to verify which cleaning products are genuinely safer for household use and plumbing systems. Looking for the Safer Choice label on commercial descalers is a quick way to vet them before buying.
The holiday cleaning services offered by Elite Maids are a great complement for when your home needs a professional reset beyond what DIY methods can accomplish.
Keeping the Rest of Your Kitchen Clean in Arvada
Cleaning your coffee maker with vinegar is a satisfying quick win, but it is just one piece of a clean kitchen. In Arvada, where many households keep their homes tidy year-round, pairing DIY appliance maintenance with a regular professional cleaning schedule makes the biggest difference.
Elite Maids House Cleaning is a family-owned residential cleaning team serving homeowners throughout Colorado and Arizona. Every cleaner on the team is background-checked, bonded, and insured. The team backs every visit with a reclean-at-no-cost satisfaction guarantee, so if something is not right, they come back and fix it at no charge.
For Arvada residents who want the convenience of a clean kitchen without spending their Saturday scrubbing, House Cleaning Services in Arvada, Colorado covers recurring weekly, biweekly, and monthly schedules as well as one-time deep cleans. Online booking with instant quotes means you can schedule same-day service between 8am and 6pm without picking up the phone.
Local Clean Queen Arvada searches consistently surface Elite Maids as one of the most-reviewed residential cleaning teams in the area, and that reputation is built on consistent results rather than marketing.
According to the American Lung Association’s indoor air quality guidance, keeping kitchen appliances and surfaces clean directly reduces the indoor pollutants and mold spores that circulate through your home. A clean coffee maker is a small piece of that picture. A professionally cleaned kitchen is a much larger one.
Whether you are in Arvada, the surrounding metro area, or anywhere nearby, having a clean home starts with small habits like descaling your coffee maker and scales up from there. The recurring maid service options from Elite Maids make it easy to keep every room in your home at that same level of clean, week after week.
How much vinegar do you use to clean a coffee maker?
Use equal parts white vinegar and water, filling the reservoir to its maximum capacity with the 50/50 mixture. For most standard drip coffee makers, that means between 6 and 12 cups of liquid total depending on reservoir size. This ratio is strong enough to dissolve mineral scale without damaging internal components.
Can you run just straight vinegar through a coffee maker?
It is not recommended. Undiluted vinegar is more acidic than needed and can be harsh on rubber seals and certain metal components inside the machine over repeated use. The 50/50 dilution with water is the standard that cleaning experts and appliance manufacturers consistently point to for safe and effective descaling.
How do you get the vinegar smell out of a coffee maker after cleaning?
Run at least two full brew cycles with plain cold water after the vinegar cycle is complete. Most drip machines are odor-free after two rinses. If a faint smell persists, a third rinse cycle with fresh water eliminates it. Avoid rushing the rinse step, since residual vinegar taste in your next pot of coffee is the most common complaint about this cleaning method.
How often should you clean your coffee maker with vinegar in Arvada?
For daily coffee drinkers in Arvada, once every four to six weeks is a practical schedule. If you brew only a few times per week, every two to three months is sufficient. Harder tap water accelerates mineral buildup, so households that notice scale deposits around the reservoir or slower brew times should clean more frequently rather than waiting for the scheduled date.
Does cleaning a coffee maker with vinegar actually improve the taste of coffee?
Yes, noticeably so. Mineral scale on the heating element prevents water from reaching the optimal brewing temperature of around 195 to 205 degrees Fahrenheit. Coffee brewed at lower temperatures tends to taste weak or sour. Removing that scale restores proper heat transfer, which directly improves extraction and flavor clarity in the finished cup.
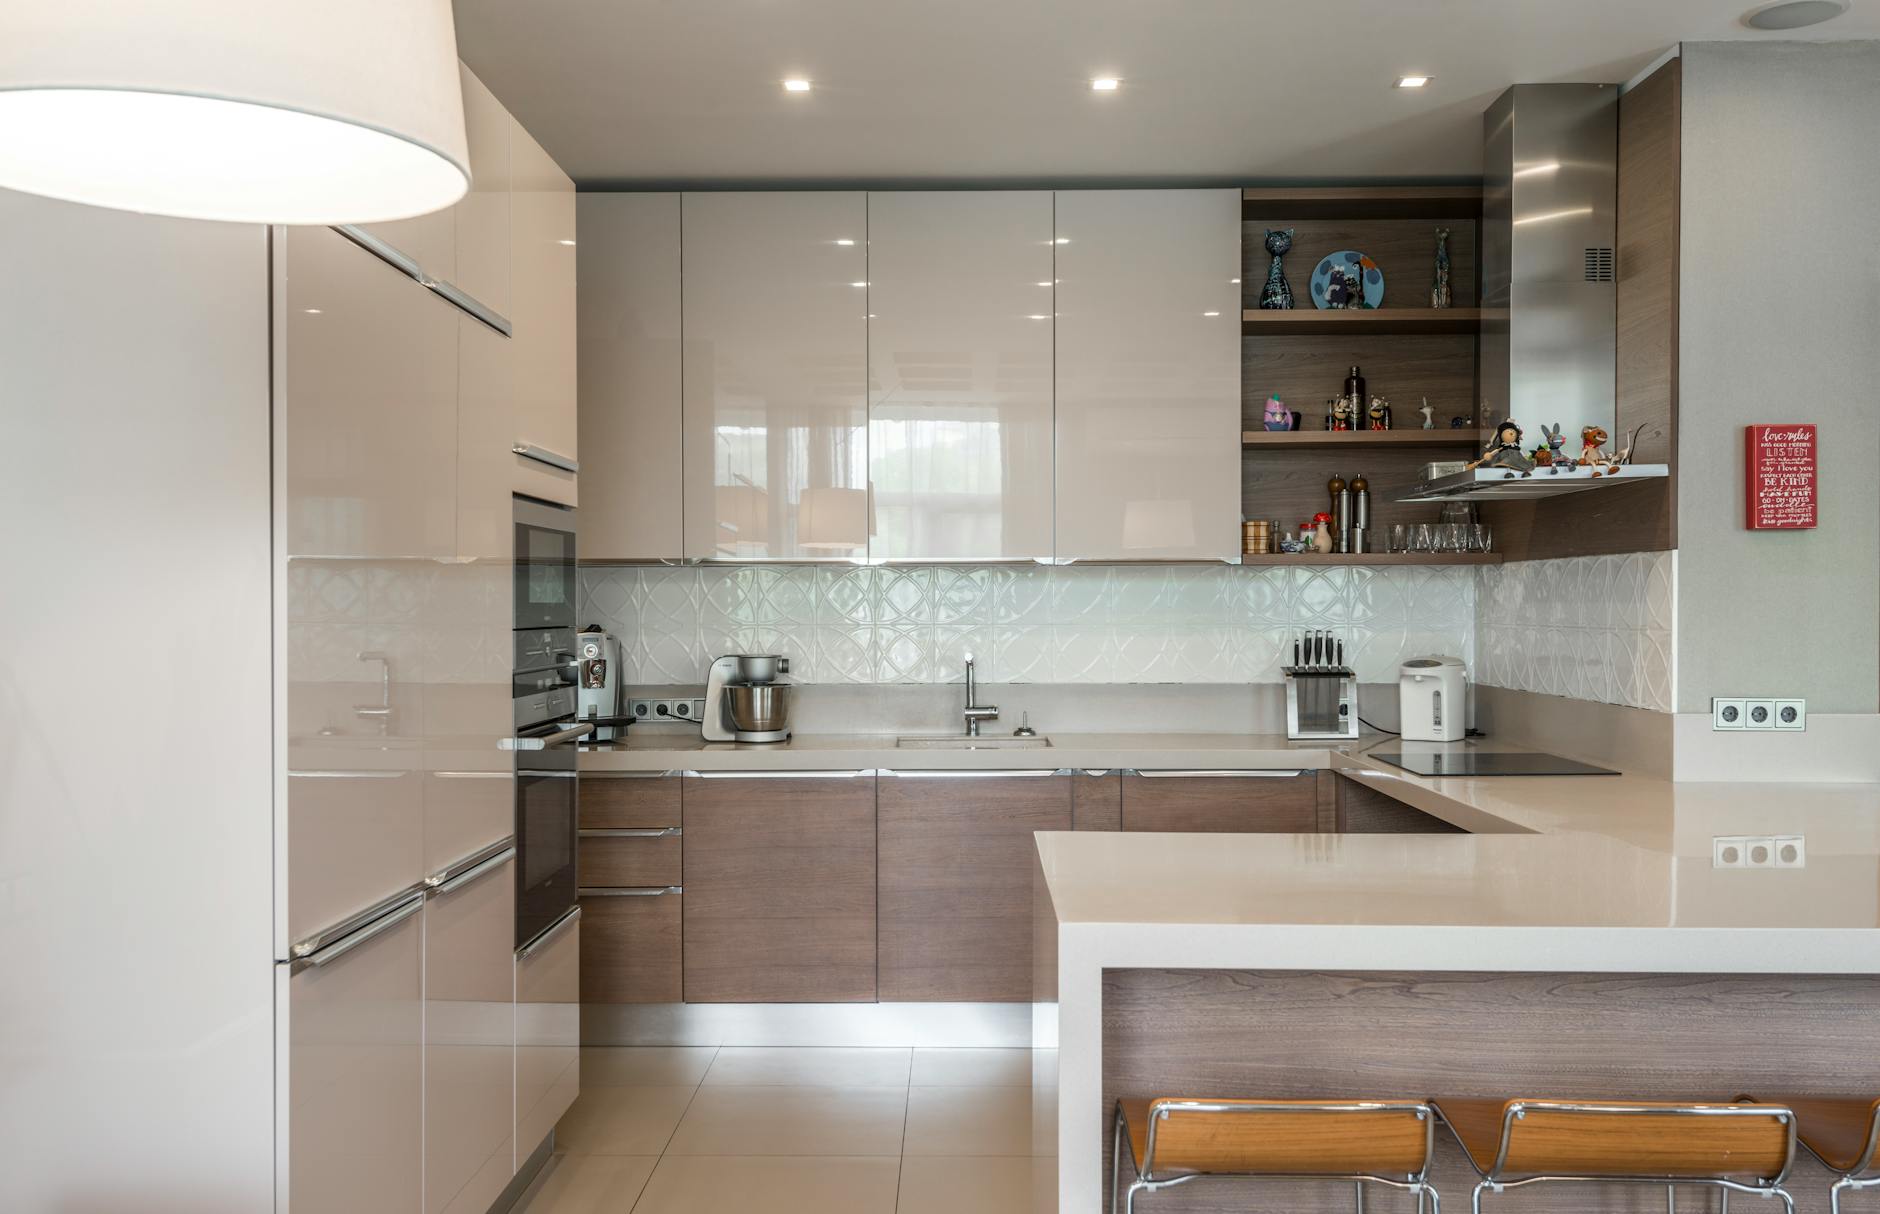
How to Deal with Cluttered Countertops in Queen Creek Homes
SHARE:
Dealing with cluttered countertops means clearing surfaces of items that do not belong, organizing what remains into logical zones, and building habits that keep the clutter from coming back. In Queen Creek homes, where open-concept kitchens and busy family schedules collide, countertop clutter is one of the most common complaints homeowners have. This guide walks through practical, step-by-step strategies to reclaim your surfaces and keep them clean for good.
If you live in Queen Creek, you already know how quickly a kitchen counter can go from spotless to completely buried. Between the mail, the kids’ school papers, the coffee maker, the air fryer, the vitamins, and the random items that land there because they have nowhere else to go, countertops take the brunt of daily life. The good news is that with a clear process, you can get those surfaces under control and actually keep them that way. Whether you are managing this on your own or you have been searching for cleaning queen creek arizona, this post covers both approaches so you can choose what works for your household.
1. Why Cluttered Countertops Are More Than Just an Eyesore
Cluttered countertops are not just a visual problem. When surfaces pile up with appliances, paperwork, and miscellaneous items, they create hidden hygiene issues that most homeowners overlook. Food crumbs and residue trapped under small appliances attract pests. Moisture from coffee makers or dish drying racks gets sealed under clutter and becomes a breeding ground for mold and mildew, which the EPA links to respiratory issues and allergic reactions.
Beyond health, countertop clutter makes cleaning harder. A professional cleaner cannot properly sanitize a surface that is buried under a dozen objects. The clutter prevents disinfectants from reaching the countertop material directly, which means bacteria and food residue linger even after a wipe-down. Messy countertops also raise stress levels. Research consistently shows that visual disorder increases mental fatigue and anxiety in household members, particularly in the kitchen where families spend so much time. In short, a cluttered countertop is a cleaning problem, a health problem, and a mental wellness problem all at once.
2. Do a Full Countertop Purge Before You Organize Anything
The single biggest mistake people make when trying to deal with cluttered countertops is organizing without purging first. You cannot create a clean, functional surface by rearranging clutter. You have to remove everything from the counter completely, set it on the kitchen table or floor, and then make deliberate decisions about what earns back its spot.
Go through every item using three categories: keep on the counter, store elsewhere, or donate and discard. An item earns a spot on the counter only if you use it every single day. The toaster? Probably stays. The bread maker you used twice in three years? It needs to go to a cabinet or a donation pile. The pile of mail and permission slips? Those need a dedicated home somewhere that is not the counter. Be ruthless here. Every item you allow back onto the surface is a commitment to working around it during cleaning. Once you have cleared everything, wipe the bare countertop down thoroughly before anything goes back. This is also a great moment to schedule a deep cleaning service if grime, grease, or staining has built up under the clutter over time.
3. Set Up Countertop Zones That Match How You Actually Cook
Once your countertops are clear, the next step is to organize what stays into intentional zones. Countertop zone organization is the practice of grouping items by function so that your counter works with your routine instead of against it. Think of it like a workstation: each zone has a purpose, and nothing lives in a zone unless it serves that purpose.
Common zones in a Queen Creek kitchen might include a coffee and beverage zone near the outlet closest to the refrigerator, a prep zone near the sink with a cutting board and knife block, and a small appliance zone for the toaster or microwave if it does not fit in a cabinet. The key to making zones work is strict boundaries. Items from the coffee zone do not migrate to the prep zone. When you finish using something, it goes back to its zone rather than landing wherever there is empty space. Zones also make countertop cleaning faster because a cleaner knows exactly what to move, wipe under, and replace in the right order. If you book recurring maid service with Elite Maids House Cleaning, your cleaner will work around your zones efficiently and consistently visit after visit.
4. Use Cabinet Space More Aggressively to Free Up Surfaces
Most Queen Creek homeowners are not using their cabinet space to its full potential. This leaves items sitting on the counter that could easily live somewhere else. Aggressive cabinet organization is one of the fastest ways to clear cluttered countertops without buying a single organizational product.
Start by pulling everything out of your upper and lower cabinets. You will almost certainly find items you forgot you owned, multiples of the same thing, and products that have expired. Consolidating and editing your cabinet contents typically frees up one or two full shelves, which is enough space to move most of the small appliances currently living on your counter. Vertical space is almost always underused. Adding a second shelf riser inside a cabinet can double the usable storage in that cabinet. Pull-out drawer organizers mounted inside lower cabinet doors give you bonus storage for cleaning supplies, plastic wrap, and foil so those boxes stop taking up counter real estate. When your cabinets actually work for your lifestyle, your countertops stop being a dumping ground because there is a clear home for everything.
5. Create a Command Station Somewhere Other Than the Kitchen Counter
One of the most persistent sources of kitchen counter clutter is paperwork: mail, school forms, bills, coupons, and lists. These items land on the counter because there is no better designated spot for them. The fix is to create a household command station in a different location, such as a hallway cabinet, a wall-mounted organizer in the laundry room, or a small desk area in the living space.
A command station does not have to be elaborate. It just needs a spot for incoming mail, a spot for outgoing mail, a small calendar or whiteboard, and a place to charge phones and devices. Moving device charging off the counter alone eliminates a tangle of cables and chargers that accumulates over time. For families in Queen Creek with school-aged kids, adding labeled folders or slots for each child’s papers makes a significant difference. When your command station is set up and everyone in the household knows to use it, the kitchen counter stops being the default landing zone for life’s administrative chaos. For more ideas on household organization and cleaning habits, resources like Good Housekeeping’s cleaning section offer reliable, tested guidance.
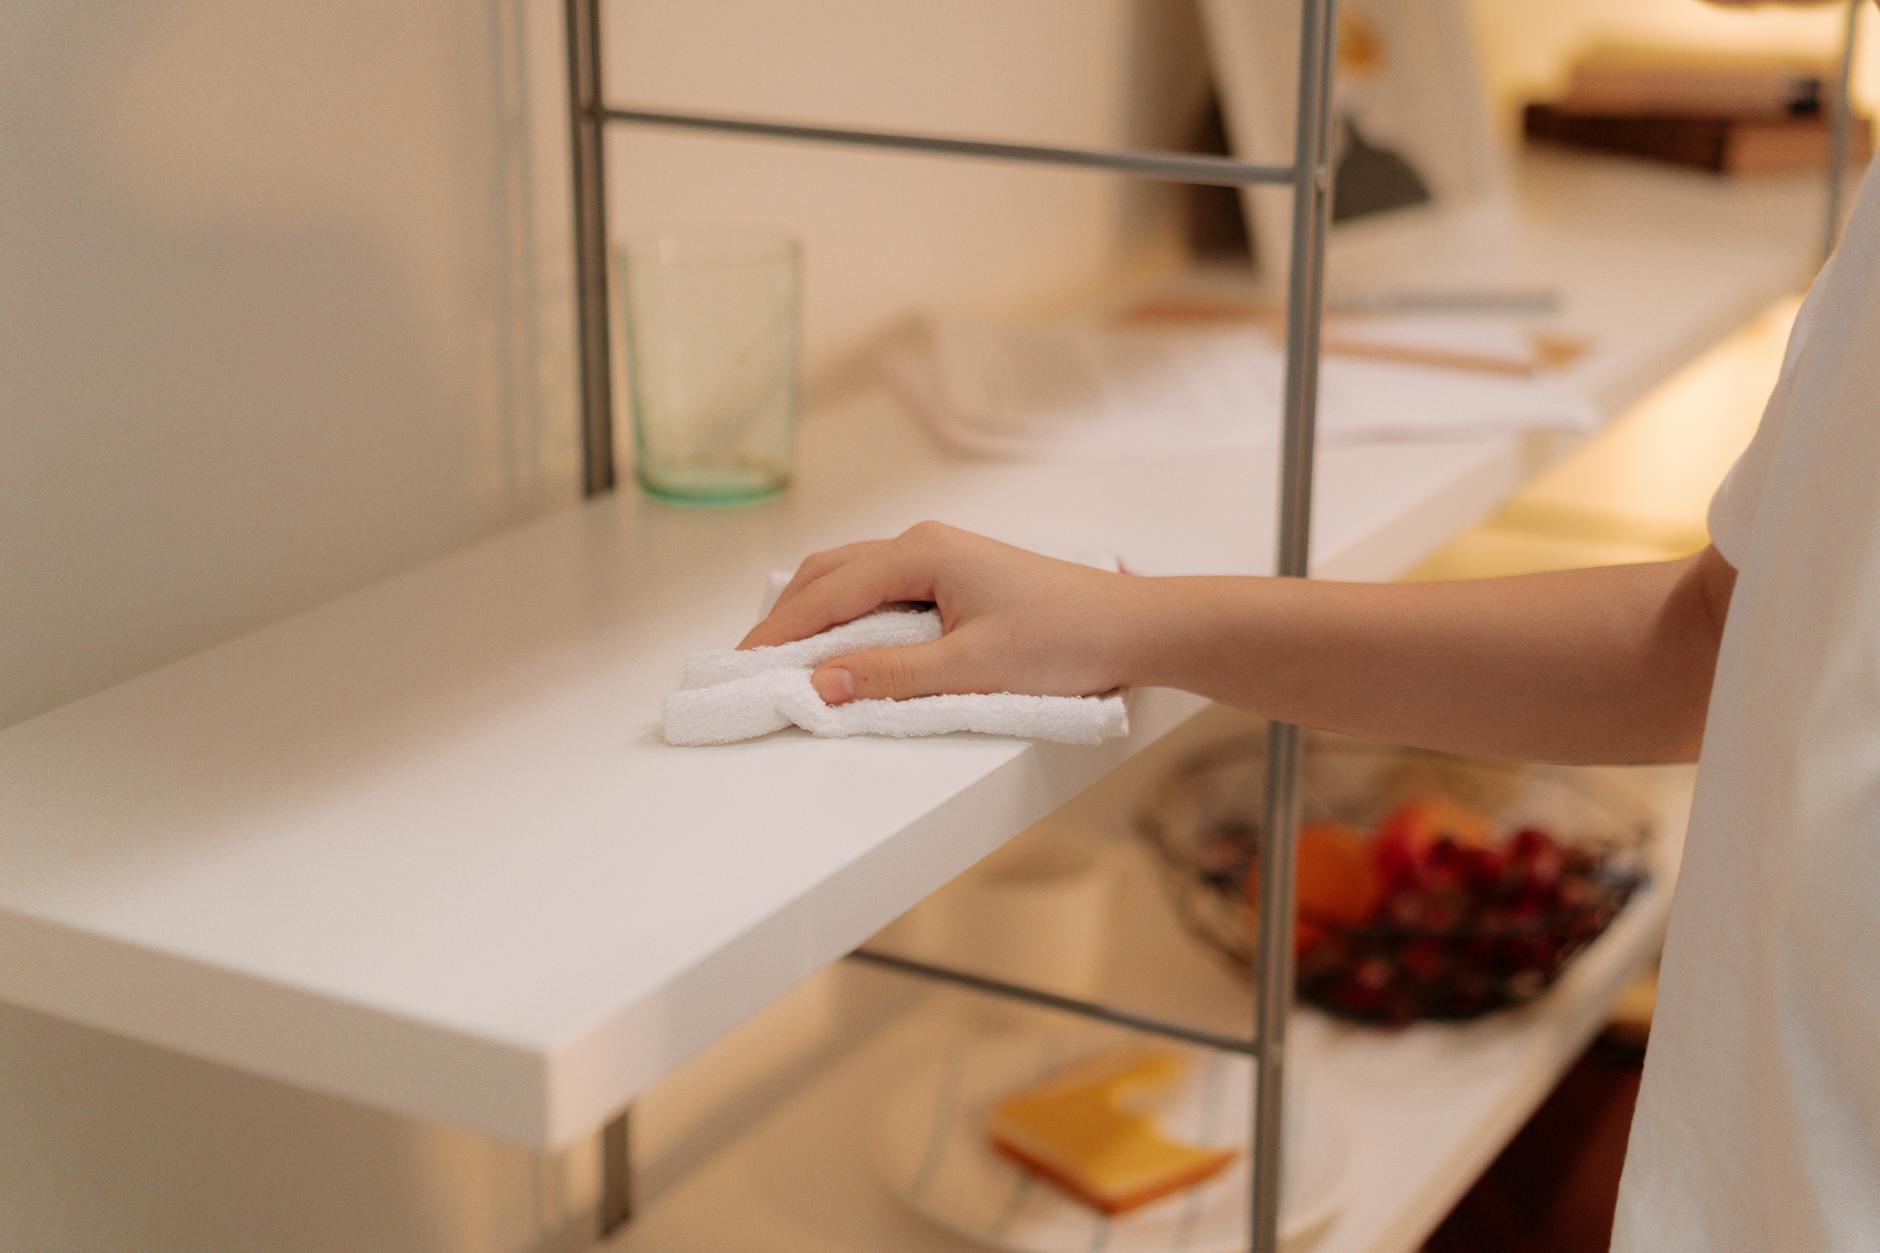
6. Adopt a Daily Countertop Reset Habit to Prevent Re-Cluttering
Clearing cluttered countertops is only half the work. The other half is staying consistent so they do not pile back up within a week. The most effective strategy is a daily countertop reset: a five-minute habit at the end of each day where you clear, wipe, and reset every surface to its baseline state.
A countertop reset is not a deep clean. It is a quick pass where everything gets returned to its zone or its home, crumbs get wiped up, and the surface gets a fast spray-and-wipe with an all-purpose cleaner. Done every night before bed, this habit prevents the slow accumulation that leads to clutter chaos. It also makes the kitchen genuinely welcoming every morning, which research highlighted by The Spruce suggests has a measurable positive impact on morning routines and overall household mood. If you struggle to build this habit on your own, having a professional cleaning team visit regularly acts as a natural reset point that motivates daily upkeep between visits. Many Queen Creek families find that once they start house cleaning visits on a biweekly schedule, they naturally keep their counters cleaner between appointments because they do not want the cleaner to arrive to a mess.
7. Choose Countertop-Friendly Cleaning Products That Do Not Add to the Clutter
Here is an irony most homeowners miss: the cleaning products meant to keep countertops clean are often part of the clutter problem. A collection of spray bottles, paper towel rolls, dish soap, and scrubbers sitting on the counter adds visual noise and takes up usable workspace. Keeping your cleaning supply footprint small is part of keeping countertops clear.
Simplify down to one all-purpose spray cleaner that is safe for your countertop material, stored under the sink rather than on the counter, and one small dish soap dispenser near the sink. For households with granite, quartz, or marble surfaces common in Queen Creek homes, make sure the cleaner is pH-neutral to avoid etching or dulling the finish. The EPA Safer Choice program certifies cleaning products that are effective and safer for indoor surfaces, which is a helpful filter when you are choosing what to stock under your sink. A good rule: if a cleaning product has not been used in two weeks, it does not belong on the counter. Store it below the sink or in a cleaning caddy that stays tucked away. This applies to hand soap dispensers too. One dispensed pump on the counter is enough. Three different soaps and a lotion bottle is clutter.
8. Know When to Call in a Professional Cleaning Team
Sometimes countertop clutter is a symptom of a bigger cleaning backlog. When grease has built up behind the stove, grime is caked under appliances, and every surface in the kitchen needs attention beyond a surface wipe, this is the moment to bring in professionals. A deep clean from a trained team resets your home to a baseline that is nearly impossible to achieve with weekend spot-cleaning.
Elite Maids House Cleaning serves Queen Creek families with thorough deep cleans that address what daily surface cleaning misses: the grime between appliances, the grease buildup under cabinet lips, the residue that collects in the seams where the counter meets the backsplash. Every cleaner on the team is background-checked, bonded, and fully insured, and every visit is backed by a reclean-at-no-cost satisfaction guarantee. You can book a cleaning online and get an instant quote without picking up the phone. Same-day appointments are available between 8am and 6pm for Queen Creek residents who need help quickly. For households preparing for a move, the team also handles move out cleaning in Queen Creek so you leave the property spotless and ready for inspection. Check current cleaning in Queen Creek prices to find the right service level for your home and budget.
9. Tackle Countertop Clutter Room by Room, Not All at Once
If the idea of clearing every cluttered surface in your home at once feels overwhelming, break the project into room-by-room sessions. Addressing countertop clutter room by room keeps the task manageable and lets you build momentum with quick wins before tackling harder spaces.
Start with the kitchen, since it is usually the highest-traffic surface and the one that affects daily life most. Once the kitchen counters are clear and organized, move to the bathroom vanity counters, which tend to collect makeup, hair tools, skincare products, and random items that never found a permanent home. After the bathrooms, tackle the laundry room counter if you have one, followed by any entryway or mudroom surfaces. Working through one room at a time, even spending just thirty minutes per session, makes steady progress without the exhaustion of an all-day marathon declutter. Consumer Reports consistently recommends incremental cleaning and organization strategies over large single-effort sessions for long-term results. Each room you finish gives you a model to maintain, which makes keeping the next room clear feel more intuitive.
10. Get the Whole Household Involved in Keeping Counters Clear
One person cannot maintain clear countertops alone if the rest of the household is not on board. Getting everyone involved in the countertop clutter solution is not just helpful, it is essential for long-term success. This means setting clear household expectations, not just asking nicely once and hoping for the best.
Start with a short household conversation about what belongs on the counter and what does not. Show everyone where items now live, whether that is a new cabinet spot, a command station, or a basket in the pantry. For children, make the rules visual: a labeled bin or basket in an easy-to-reach spot eliminates the excuse that they did not know where to put something. For adults, removing the temptation to drop things on the counter is more effective than willpower. If the counter is clear and clean, people are naturally more reluctant to mess it up. A cluttered counter invites more clutter. A clean counter maintains itself better than you might expect. Pair household habits with regular professional cleaning visits and the combination is hard to beat. Professional cleaning services from Elite Maids House Cleaning give your household a clean slate on a reliable schedule so the habits you are building have a strong foundation to work from.
11. Maintain the Progress with a Recurring Cleaning Schedule
The final piece of the countertop clutter puzzle is maintaining what you have worked to achieve. This means committing to a recurring cleaning schedule that keeps surfaces sanitized, surfaces from re-accumulating clutter, and your home feeling genuinely clean rather than just tidied on the surface.
A recurring cleaning schedule works on two levels. First, your own daily and weekly habits: the five-minute evening reset, a weekly wipe-down of all surfaces, and a monthly review of what has crept back onto the counters. Second, a professional cleaning visit on a cadence that matches your household’s needs. Weekly cleaning works well for large families or households with pets. Biweekly cleaning is the most popular choice among Queen Creek homeowners and gives most families the right balance of cleanliness and cost. Monthly deep cleaning visits are a great fit for couples or single-person households where clutter and grime build up more slowly. The American Lung Association recommends keeping indoor surfaces, including countertops, clean and dry as a baseline measure for maintaining healthy indoor air quality, a reminder that regular cleaning is not optional for healthy homes. Building a recurring professional visit into your schedule is the easiest way to ensure countertops and all other surfaces get the attention they need on a reliable timetable.
Closing: Reclaim Your Queen Creek Countertops for Good
Cluttered countertops are a solvable problem. With a full purge, intentional zone organization, smarter cabinet use, daily reset habits, and the right professional help when you need it, your Queen Creek home can have clean, clear surfaces that actually stay that way. You do not have to figure it all out at once. Pick one strategy from this list and start today. The results build on each other quickly. When you are ready for professional help that goes beyond what daily habits can handle, cleaning in Queen Creek Arizona is exactly what Elite Maids House Cleaning does best. Contact Elite Maids house cleaning today for a free quote and find out how quickly a professional team can transform your home from cluttered to completely clean.
Frequently Asked Questions
What is the fastest way to deal with cluttered countertops?
The fastest method is a full surface clear: remove everything from the counter, wipe the surface clean, then return only items you use every single day. This takes about fifteen minutes per counter and gives you an immediate visual reset. Pair it with a quick five-minute nightly reset habit to prevent clutter from building back up within a few days.
How do I keep countertops clutter-free with a busy family in Queen Creek?
The key is removing the temptation to dump items on the counter by giving everything a designated home elsewhere. Set up a household command station for mail and papers, assign labeled storage for each family member’s belongings, and run a five-minute countertop reset before bed each night. A recurring professional cleaning visit also helps reset surfaces on a reliable schedule.
Should I hire a professional cleaner to help with countertop clutter?
A professional cleaner will not organize your belongings for you, but a deep cleaning service is the right call when grease, grime, and residue have built up under the clutter over time. Once a professional team restores the surface to a clean baseline, it is far easier to maintain. Elite Maids House Cleaning offers deep cleans and recurring visits for Queen Creek homeowners on flexible weekly, biweekly, and monthly schedules.
What items should never stay on a kitchen countertop?
Any item you use less than once a day generally does not belong on the counter. Common offenders include bread makers, blenders used occasionally, mail and paperwork, phone chargers, excess cleaning products, decorative items that collect dust, and multiples of anything. If it does not earn its square footage through daily use, it belongs in a cabinet, drawer, or another room entirely.
How often should countertops be professionally cleaned?
For most Queen Creek households, a biweekly professional cleaning covers countertops and all other surfaces on a schedule that prevents serious buildup. Busy households with kids or pets benefit from weekly service. At minimum, a thorough deep clean once or twice a year is recommended to address buildup under appliances and in surface seams that daily wiping never reaches.
The kitchen is the hardest-working room in your house. It takes on daily cooking messes, grease buildup, crumbs in every corner, and grime that quietly sneaks into places you barely think about. If your kitchen never quite looks as clean as you want it to, the problem usually is not effort. It is having a clear, organized plan. A kitchen cleaning checklist takes the guesswork out of the process and makes sure nothing gets skipped, whether you are doing a quick daily wipe-down or a full deep clean of the entire space. This guide walks you through everything, from the tools you need to a full breakdown of daily, weekly, monthly, and seasonal tasks. If you want a professionally clean kitchen without the stress, Arizona maid service teams like Elite Maids House Cleaning are ready to handle it for you.
Why You Need a Kitchen Cleaning Checklist
Most people clean their kitchens reactively, meaning they wipe something down when it looks dirty. The problem with that approach is that a lot of kitchen grime is not visible until it has built up into a real problem. Grease accumulates on cabinet fronts. Food residue hides under the refrigerator. Bacteria thrive on cutting boards and sink handles. According to the CDC’s guidance on household hygiene and cleaning, the kitchen is one of the highest-risk areas in a home for foodborne illness, making consistent, thorough cleaning critical for family health.
A kitchen cleaning checklist solves this by giving you a repeatable system. Instead of wondering what to clean or hoping you remembered everything, you work through a proven routine. A good kitchen cleaning schedule also keeps tasks manageable. When you clean consistently, nothing becomes a massive project. You spend less time overall and get better results every single time.
Must-Have Kitchen Cleaning Tools and Supplies
Before you start any kitchen cleaning routine, having the right tools on hand makes the job significantly faster and more effective. Trying to scrub baked-on grease with the wrong sponge or wipe down stainless steel with a product that leaves streaks is frustrating and wasteful. Here is what every well-stocked kitchen cleaning kit should include.
Microfiber cloths: These lift dust, grease, and bacteria far more effectively than standard cotton rags. Use separate cloths for counters, appliances, and floors.
Non-scratch scrub sponges: Great for stovetops, sink basins, and baked-on messes without damaging surfaces.
A stiff-bristle grout brush: Essential for getting into tile grout lines and around the base of the faucet.
All-purpose cleaner: Choose a product that works across counters, cabinet fronts, and appliance exteriors. If you prefer safer options for your family, look for products on the EPA’s Safer Choice certified list.
Degreaser: Necessary for range hoods, stovetops, and any surface exposed to regular cooking.
Glass cleaner: For windows, oven doors, and microwave interiors.
Baking soda and white vinegar: Two affordable, effective natural cleaners for drains, odors, and light scrubbing.
Vacuum with a hose attachment: Pulls crumbs and debris from under appliances and inside pantry shelves before you wipe them down.
Having these kitchen cleaning supplies ready before you start means fewer interruptions and a smoother process from start to finish.
How to Deep Clean a Kitchen from Top to Bottom
Deep cleaning a kitchen is not the same as a quick tidy. A proper kitchen deep clean means working through every surface, appliance, and hidden corner in a methodical order. The golden rule is to always clean from top to bottom so falling debris does not dirty surfaces you have already cleaned.
Start at the ceiling level. Wipe down light fixtures, ceiling fan blades if present, and the top of your cabinets. These collect grease and dust that drips down over time. Next, clean your range hood filter, soaking it in hot soapy water if it is metal, or replacing it if it is disposable.
Move to the walls and cabinet fronts. Grease and splatter accumulate here more than most people realize. Use a degreaser and a microfiber cloth, working in sections. Inside the cabinets, remove everything, wipe down shelves, and check for expired items before restocking.
For appliances, deep cleaning a kitchen means going inside, not just wiping the exterior. Clean the inside of your oven with an appropriate oven cleaner or a baking soda paste. Remove microwave turntables and wash them in the sink. Pull the refrigerator away from the wall to vacuum the coils and clean the floor underneath. This step alone can dramatically improve how well your refrigerator runs.
Finish at floor level. Sweep or vacuum first, then mop thoroughly. Pay attention to the area under the toe kicks of your cabinets and beneath every appliance you can move.
For households with limited time, scheduling a periodic deep cleaning service Arizona residents trust means this level of thorough cleaning happens consistently without it falling to the bottom of your to-do list. Also, if you want a broader whole-home approach, check out The Ultimate House Cleaning Checklist for Chandler Homeowners for room-by-room guidance beyond the kitchen.
Daily, Weekly, and Monthly Kitchen Cleaning Schedule
One of the most practical parts of any kitchen cleaning checklist is breaking tasks into a realistic schedule. Not everything needs to happen every day, and knowing the difference saves you time without letting things slide.
Daily kitchen cleaning tasks:
Wipe down countertops and the stovetop after cooking
Wash or load dishes into the dishwasher
Wipe out the sink and dry it to prevent water spots and bacteria growth
Sweep or spot-clean the floor
Empty the trash before it overflows
Wipe the handles on appliances and the refrigerator door
Weekly kitchen cleaning tasks:
Scrub the sink basin thoroughly
Clean the interior of the microwave
Wipe down cabinet fronts and appliance exteriors
Mop the kitchen floor completely
Clean out the refrigerator and toss expired food
Wipe down the inside of the trash can
Monthly kitchen cleaning tasks:
Deep clean the oven interior
Clean the range hood filter
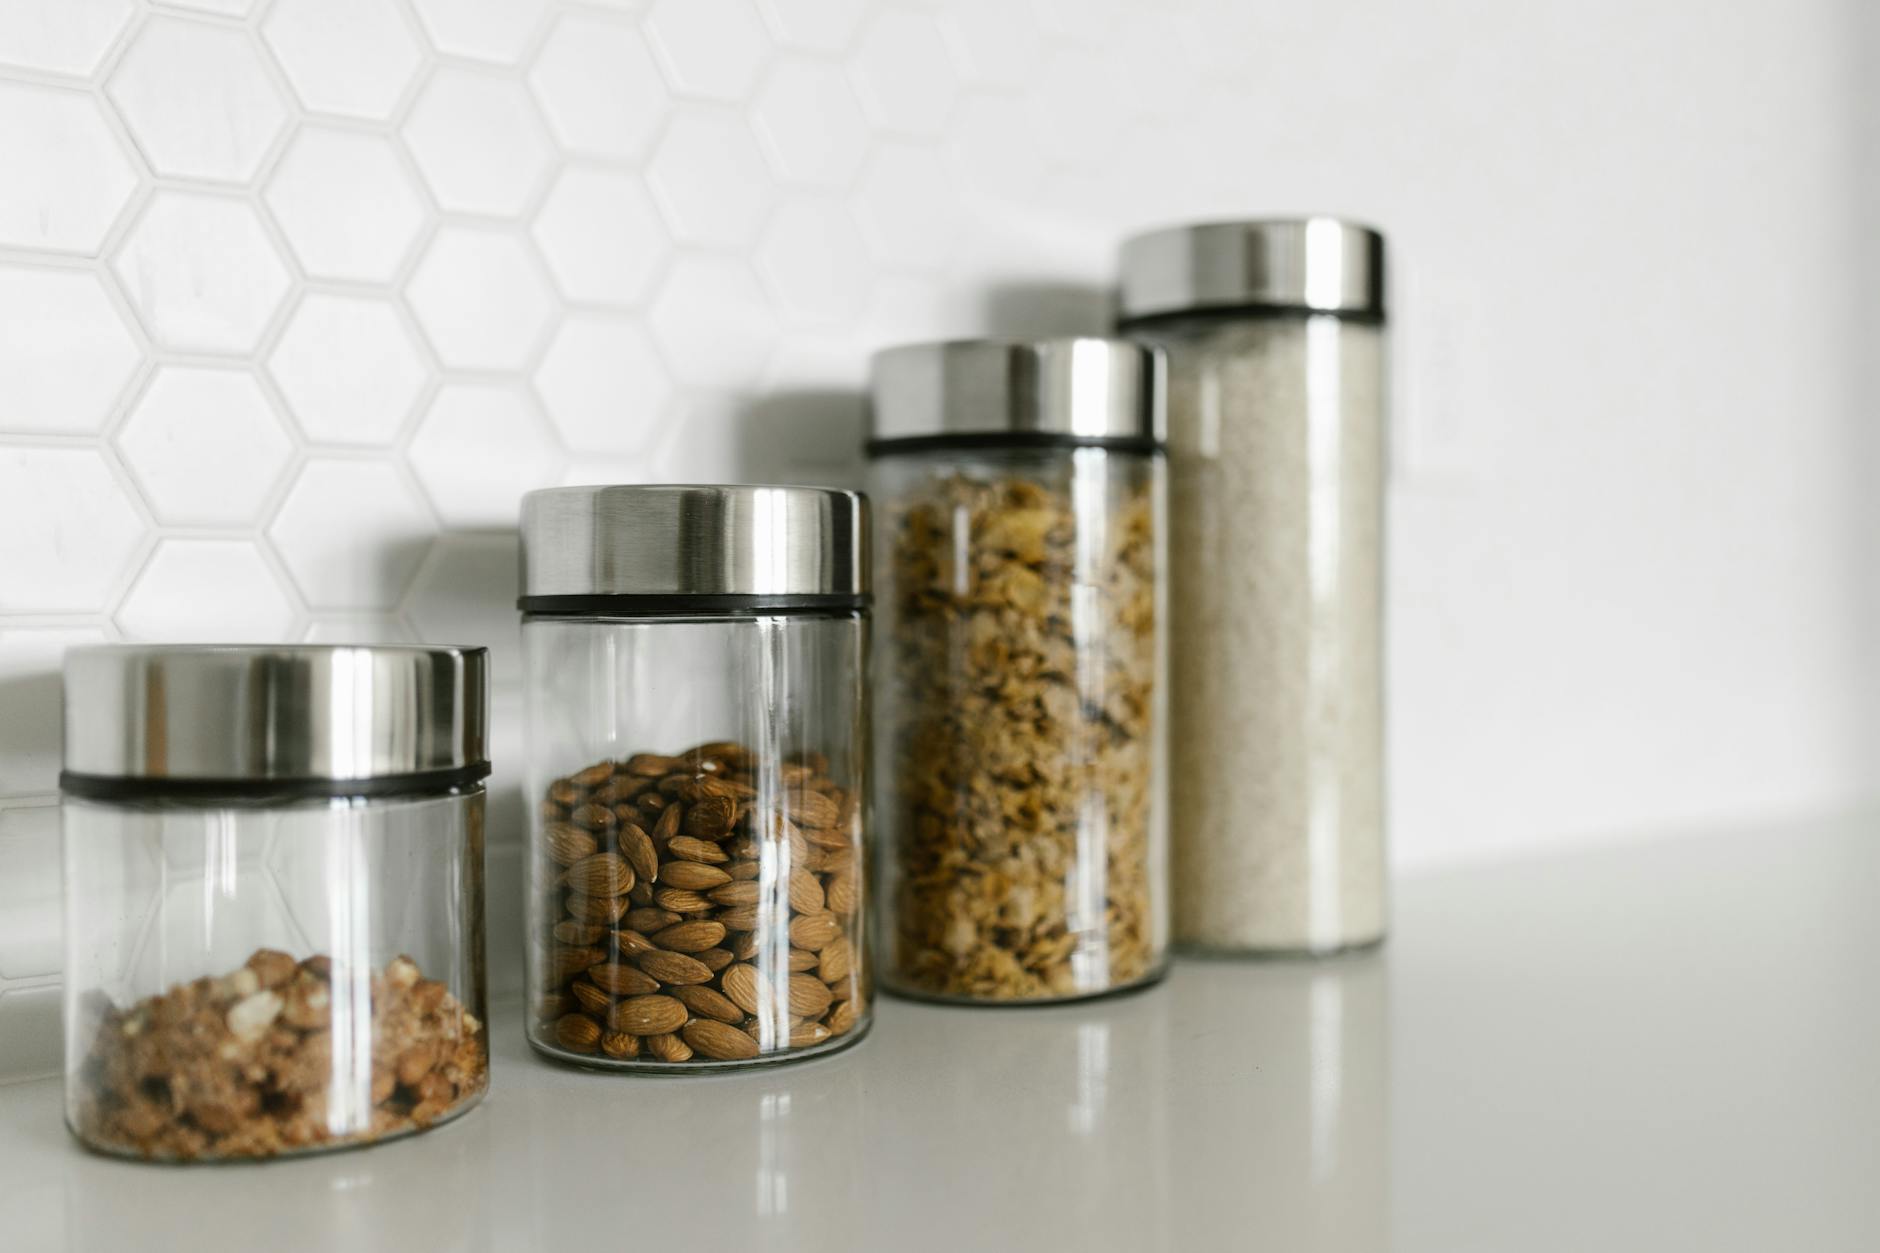
Wipe down the inside of all cabinets and pantry shelves
Declutter and reorganize the pantry
Scrub tile grout on counters and backsplash
Clean window sills and kitchen windows
Wash any kitchen window treatments or curtains
Pull out the refrigerator and stove to clean behind them
Sticking to this kind of layered kitchen cleaning routine means your kitchen stays in excellent shape without any single session becoming overwhelming. According to Good Housekeeping’s cleaning resources, consistent daily and weekly habits are the biggest factor in keeping a kitchen genuinely clean, not just surface-level tidy.
Seasonal Kitchen Deep Clean Tasks Worth Adding to Your Checklist
Beyond your monthly routine, a few times a year your kitchen benefits from an even deeper level of attention. A seasonal kitchen cleaning pass catches the things that build up slowly over months and that a standard weekly or monthly routine does not quite reach.
For your seasonal kitchen cleaning checklist, include these tasks:
Wash all window treatments, including curtains, blinds, or café curtains hanging in the kitchen
Clean the tops of all upper cabinets, which collect grease and dust throughout the year
Descale your coffee maker, kettle, and any other small appliances that build up mineral deposits
Move every large appliance, including the refrigerator, stove, and dishwasher, and deep clean the floor and walls behind and underneath each one
Replace any worn sponges, dish brushes, and kitchen towels
Inspect and clean the garbage disposal, using ice and rock salt or a disposal cleaning product
Wipe down and organize your spice cabinet or drawer, discarding anything past its best-by date
Many Arizona families schedule a professional deep clean at the start of each season so this level of thorough kitchen cleaning happens reliably. If you manage a rental property or short-term rental, the approach in The Ultimate Airbnb Cleaning Checklist for Queen Creek Hosts offers useful overlap for keeping a kitchen guest-ready year-round.
Tips for Sticking to a Consistent Kitchen Cleaning Routine
Having a kitchen cleaning checklist is only useful if you actually use it. The biggest obstacle for most homeowners is not knowing what to do. It is finding the time and motivation to do it consistently. Here are some practical strategies that make a real difference.
Attach cleaning to an existing habit. Wipe down the stovetop every time you finish cooking. Clean the sink every night before bed. Pairing a cleaning task with something you already do every day removes the need to remember it separately.
Set a timer. Most daily kitchen cleaning tasks take under ten minutes. Knowing there is a defined end point makes it easier to start.
Keep your supplies accessible. If your cleaning products are stored under the sink where you cook, you are far more likely to use them. Out of sight really does mean out of mind.
Print or post your checklist. A physical list on the inside of a cabinet door is a constant, low-pressure reminder of what belongs in your routine.
Delegate tasks. In a household with multiple people, a kitchen cleaning schedule works best when tasks are shared. Assign daily responsibilities so one person is not carrying the full load.
Book professional help for deep cleans. For the bigger sessions, removing the job from your plate entirely keeps your routine manageable and your kitchen consistently clean.
When to Call in a Professional Kitchen Cleaning Team
Even the most organized homeowner reaches a point where the kitchen needs more than a checklist can deliver on its own. Grease that has had months to harden, grime behind appliances that have not moved in years, or a move-out clean where the kitchen needs to be spotless for an inspection are all situations where professional kitchen cleaning services make a significant difference.
Elite Maids House Cleaning offers recurring kitchen cleaning as part of weekly, biweekly, and monthly house cleaning plans, as well as standalone deep cleans for homes across Phoenix, Mesa, Scottsdale, Gilbert, Chandler, Glendale, Queen Creek, San Tan Valley, Tucson, and Flagstaff. Every cleaner is background-checked, bonded, fully insured, and backed by a reclean-at-no-cost guarantee. You can book online in minutes and get an instant quote without picking up the phone.
Whether you need a one-time kitchen deep clean before a family gathering or a consistent cleaning schedule to keep your home looking its best year-round, contact Elite Maids House Cleaning today for a free quote and find out how easy it is to have a kitchen you are genuinely proud of.