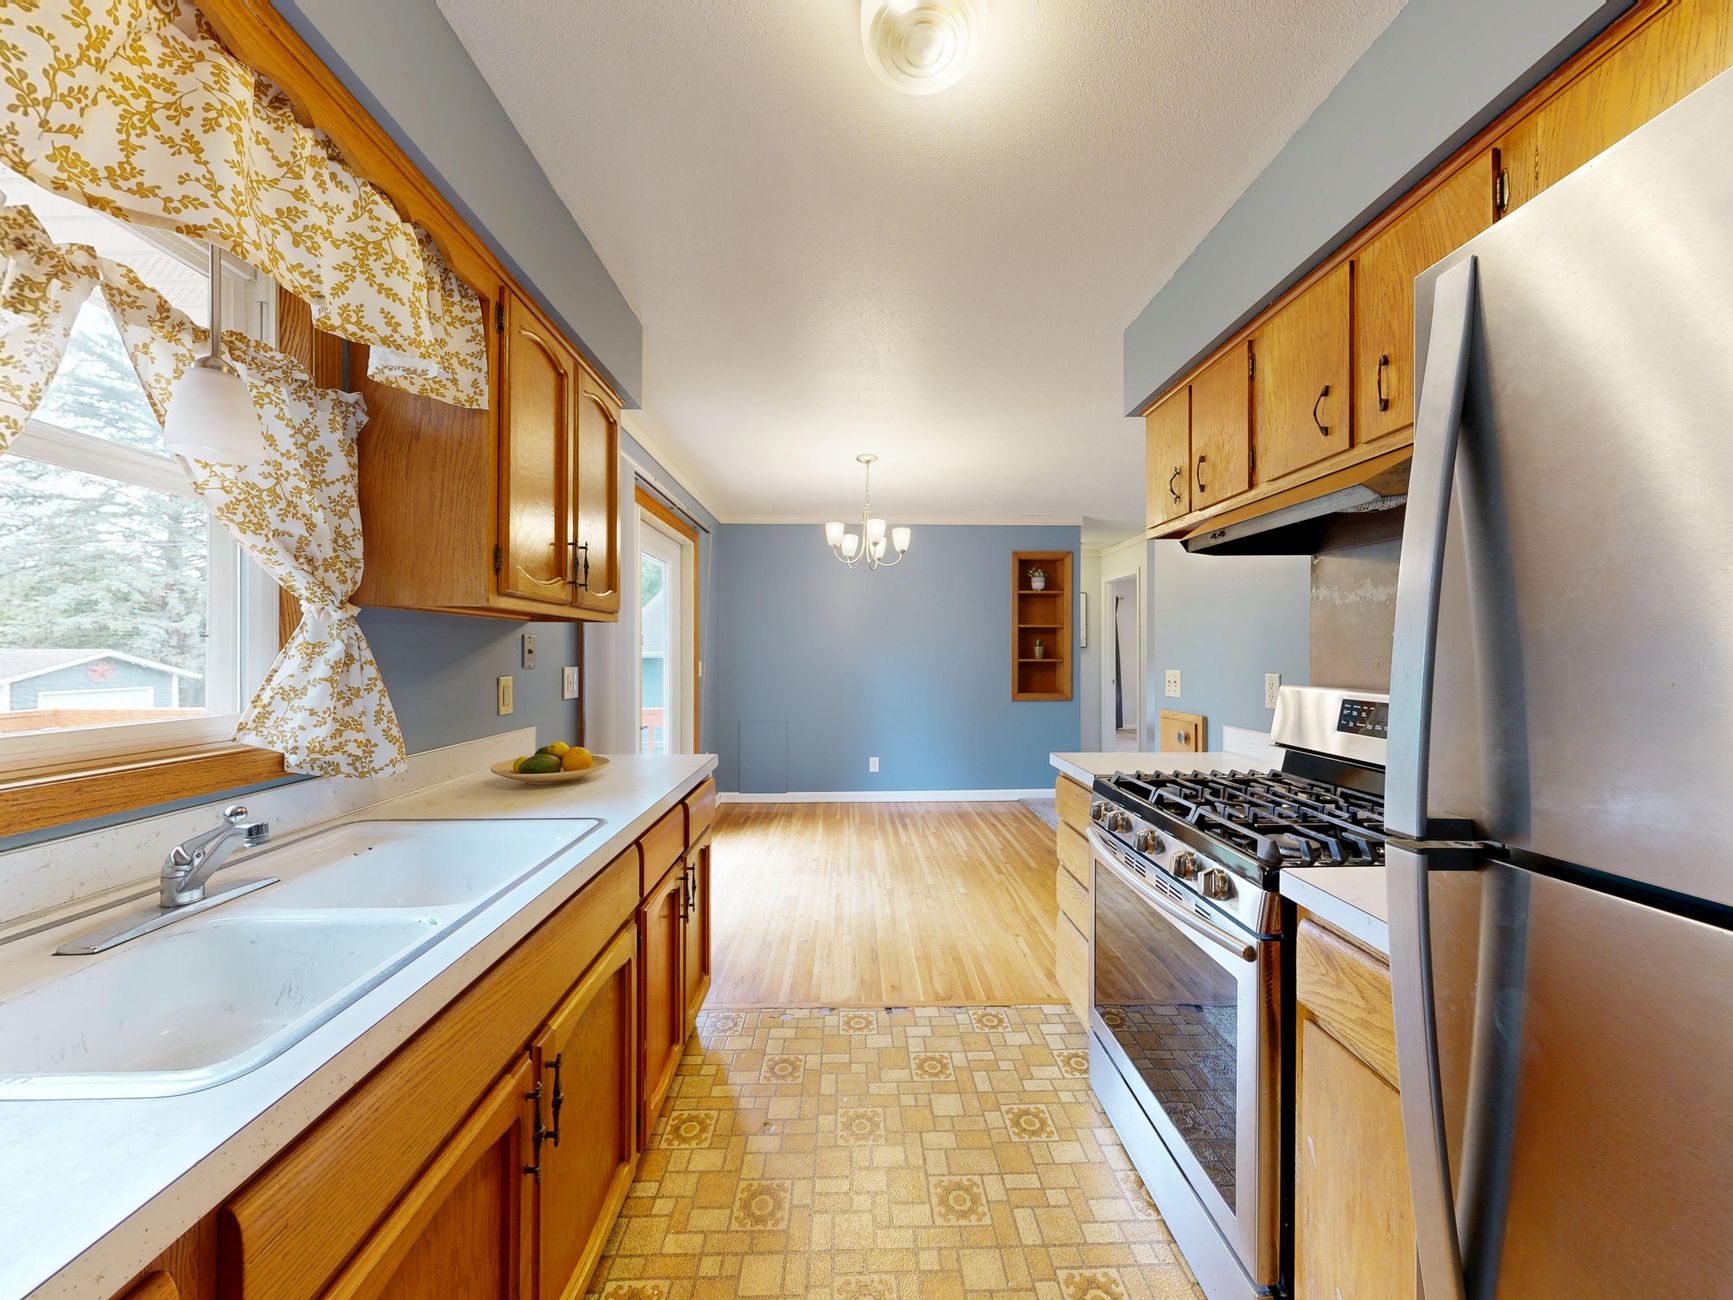
To deep clean your kitchen from top to bottom, start at the ceiling and work your way down: dust vents and light fixtures, then tackle appliances, cabinets, counters, the sink, and finally the floor. This order keeps dislodged grime from re-dirtying surfaces you have already cleaned. The steps below walk through every zone in the right sequence, with tips on products, timing, and common pitfalls to avoid.
Before you pick up a single sponge, clear the counters completely, pull out the trash bin, and gather your supplies: an all-purpose cleaner, degreaser, baking soda, white vinegar, microfiber cloths, a grout brush, and rubber gloves. Having everything within reach means you will not lose momentum halfway through the kitchen deep cleaning process. If you prefer to skip the scrubbing entirely, Elite Maids House Cleaning offers professional deep cleaning that covers every surface listed here.
1. Dust Ceiling Vents, Light Fixtures, and the Top of Cabinets
Always clean from the highest point down. Grease and dust collect on top of cabinets, on range hood vents, and on light fixtures in ways most people never see until they stand on a step stool. Use a dry microfiber cloth or a long-handled duster to knock debris loose, then follow with a damp cloth dampened in warm soapy water. Cleaning these elevated surfaces first means any fallout lands on surfaces you have not touched yet. Remove range hood filters if they are metal mesh and soak them in hot water with a few squirts of dish soap or a tablespoon of washing soda for 15 minutes before scrubbing and rinsing. Re-installing clean filters dramatically improves ventilation, which matters because cooking grease vapors are a known contributor to poor indoor air quality, according to the EPA’s indoor air quality guidance.
2. Scour the Stove and Cooktop
The stove is the hardest-working surface in the kitchen, and it shows. Scouring the stove properly means removing grates or burner caps and soaking them in a sink of hot, soapy water while you work on the cooktop surface itself. Spray a degreaser on the cooktop, let it sit for five minutes, then scrub with a non-scratch pad in small circles. For ceramic or glass cooktops, a paste of baking soda and a few drops of dish soap applied with a soft cloth removes baked-on residue without scratching. Stove deep cleaning also includes the knobs: pull them off, wipe the panel behind them with a damp cloth, then wash the knobs in soapy water and dry them before snapping them back. Do not overlook the area between the stove and the countertop, a thin spatula wrapped in a microfiber cloth can fish out years of crumbs and grease from that gap.
3. Overhaul the Oven
Oven deep cleaning is one of the most skipped chores in the kitchen, and one of the most rewarding when it is finally done. If your oven has a self-cleaning cycle, run it the night before your deep clean session and wipe the ash out the next morning with a damp cloth. If you prefer a manual approach, coat the interior walls, bottom, and door glass with a paste of one cup baking soda mixed with enough water to form a spreadable consistency. Leave it overnight, then wipe it away with a damp cloth and follow with a spray of white vinegar to dissolve any remaining residue. Pay special attention to the oven door glass: the grime there is baked on in layers, and the baking soda paste does an excellent job lifting it. Oven racks can be soaked in a bathtub with hot water and dish soap, scrubbed with a stiff brush, rinsed, and dried before being replaced. A thorough oven cleaning removes carbon buildup that can produce unpleasant odors during cooking and ensures the appliance runs efficiently.
4. Tackle the Refrigerator Inside and Out
Tackling the refrigerator means emptying it completely before you do anything else. Toss expired items, consolidate leftovers, and set everything else on the counter. Remove all shelves and drawers and wash them in the sink with warm soapy water. While they dry, wipe the interior walls, ceiling, and floor of the refrigerator with a solution of two tablespoons baking soda dissolved in one quart of warm water. This mild alkaline solution cleans without leaving chemical odors that can transfer to food. Refrigerator deep cleaning also means pulling the unit away from the wall to vacuum the condenser coils, which collect dust and force the motor to work harder. Wipe the exterior, including the top, sides, and handles, with an all-purpose cleaner. Do not forget the rubber door gaskets: these collect mold and food particles in their folds. Scrub them with an old toothbrush dipped in a solution of one part white vinegar to one part water. Mold in refrigerator gaskets is more common than most people realize; the CDC’s guidance on mold in homes recommends addressing it promptly to protect household health.
5. Degunk the Dishwasher and Deep Clean the Sink
Most people assume the dishwasher cleans itself. It does not. Degunking the dishwasher starts with pulling out the bottom rack and removing the filter, usually a twist-off cylinder at the base of the spray arm. Rinse the filter under hot water and scrub it with a brush until the mesh is clear. Wipe the interior walls and the door gasket with a damp cloth, then place a cup of white vinegar on the top rack and run a hot cycle. Follow that with a cycle where you sprinkle a half-cup of baking soda on the floor of the dishwasher to deodorize. For disinfection services that go beyond surface-level cleaning, a professional team can sanitize these hidden zones using EPA Safer Choice certified products.
Deep cleaning the sink requires more than a quick rinse. Scrub the sink basin with a paste of baking soda, then rinse and follow with a spray of white vinegar to remove mineral deposits and neutralize odors. Sink deep cleaning also means descaling the faucet aerator: unscrew the tip of the faucet, drop the aerator into a small cup of white vinegar for 20 minutes, then rinse and replace. Clean the drain by pouring half a cup of baking soda down it, followed by half a cup of vinegar. Let it fizz for 10 minutes, then flush with boiling water. Wipe the faucet and handles until they shine. Good Housekeeping’s cleaning guides recommend weekly sink maintenance to prevent buildup between deep cleans.
6. Conquer the Cabinets and Pantry
Cabinet deep cleaning covers both the exterior surfaces and the interior. Outside first: spray a degreaser on cabinet fronts, handles, and the area directly above the stove where grease vapor settles. Let the degreaser dwell for two to three minutes, then wipe with a microfiber cloth. For wood cabinets, follow with a wood-safe cleaner or a diluted dish soap solution. Conquering the cabinets on the inside means pulling everything out, wiping the shelves with a damp cloth, and allowing them to dry before replacing items. While the shelves are empty, check for expired pantry goods, consolidate duplicates, and add shelf liner paper if the surface is worn. Wipe down every jar, box, and can before putting it back. For a full picture of how cabinet cleaning fits into a whole-home refresh, our whole-home deep cleaning checklist walks through every room in detail.
7. Get Counters Gleaming and Sanitize the Backsplash
Getting counters gleaming means knowing your surface first. Granite and natural stone should never see vinegar or acidic cleaners, use a pH-neutral stone cleaner instead. Laminate and quartz counters handle an all-purpose cleaner well. Spray the counter, let it sit for one minute to break down any residue, then wipe from back to front with a clean microfiber cloth. Counter deep cleaning also means moving the small appliances, toaster, coffee maker, knife block, and cleaning underneath them, which is where crumbs accumulate most. Wipe the appliances themselves: the outside of the coffee maker, the crumb tray of the toaster, and the exterior of the blender. Clean the backsplash using the same all-purpose spray and a soft cloth for tile or a non-scratch sponge for grout lines. For stubborn grout stains, a paste of baking soda applied with a grout brush, left for five minutes before scrubbing and rinsing, brings tile lines back to near-original brightness. If your spring reset includes the kitchen, our ultimate guide to spring cleaning pairs perfectly with this checklist.
8. Deep Clean the Microwave
Microwave deep cleaning is faster than most people expect. Place a microwave-safe bowl filled with one cup of water and a few slices of lemon (or two tablespoons of white vinegar) inside and run it on high for five minutes. The steam loosens every splatter on the interior walls and ceiling. Carefully remove the hot bowl, then wipe the interior with a damp cloth. The turntable plate lifts out and can be washed in the sink with dish soap. You should wipe spills, splatters, and crumbs out of your microwave after every use, and give it a thorough deep clean at least once each week or once each month depending on usage. Wipe the exterior, including the door handle and control panel buttons, with a cloth lightly dampened with all-purpose cleaner. Never spray liquid directly onto the control panel.
9. Polish Pots, Pans, and Small Appliances
Polishing pots and pans is the step that brings your cookware back to looking like new. For stainless steel pans with discoloration inside, a paste of baking soda and a few drops of dish soap applied with a non-scratch pad works well. Rinse thoroughly and dry immediately to prevent water spots. Cast iron should never be soaked; instead, scrub it with coarse salt and a paper towel, rinse quickly, and dry immediately on a warm burner before applying a thin coat of cooking oil. For copper pots, a paste of equal parts salt, flour, and white vinegar shines the exterior. Polishing small appliances like the stand mixer, food processor, and blender involves wiping down the body with a damp cloth and disassembling any removable parts for a proper wash. For anyone managing a move and needing a thorough kitchen reset, our move-out clean checklist covers exactly what landlords and buyers inspect.
10. Mop and Sanitize the Kitchen Floor
Kitchen floor deep cleaning is the final step, and it is done last precisely because everything you have shaken loose from higher surfaces has now settled here. Start by sweeping or vacuuming thoroughly, including under the stove, refrigerator, and dishwasher if they can be moved. For tile and grout floors, fill a bucket with hot water and a floor cleaner appropriate for tile and mop in overlapping strokes, rinsing the mop head frequently. Grout lines on the floor respond well to the same baking soda and grout brush technique used on the backsplash. For vinyl plank or hardwood-look flooring, use a damp (not wet) mop with a hardwood-safe cleaner to avoid moisture damage. Sanitizing the kitchen floor after mopping adds an extra layer of protection, especially in homes with young children or pets. The EPA’s Safer Choice program is a useful reference for identifying floor sanitizers that clean effectively without introducing harsh chemicals into your home environment. Let the floor dry completely before walking on it or replacing any furniture.
Deep Clean Kitchen Checklist: A Quick-Reference Summary
Use this checklist to track your progress through the kitchen deep cleaning process. A printed or digital kitchen deep cleaning checklist keeps you moving efficiently and ensures nothing gets skipped:
Dust ceiling vents, light fixtures, and the tops of cabinets
Remove and soak range hood filters; wipe range hood exterior
Scour stovetop, grates, burner caps, knobs, and the gap beside the stove
Deep clean oven interior, door glass, and racks
Empty and wipe refrigerator interior; clean shelves, drawers, and gaskets
How Much Does a Professional Kitchen Deep Clean Cost?
Kitchen deep cleaning cost varies by the size of the kitchen, how long it has been since the last thorough clean, and the scope of work requested. A standalone kitchen deep clean through a professional service typically ranges from $80 to $200 depending on the region and the level of detail required. Full-home deep cleaning packages, which include the kitchen, tend to offer better value per room. Factors that increase cost include oven interior cleaning, refrigerator interior cleaning, and grout scrubbing. For Arizona homeowners in Phoenix, Mesa, Scottsdale, Gilbert, Chandler, Glendale, Queen Creek, San Tan Valley, Tucson, and Flagstaff, the trusted cleaning team at Elite Maids House Cleaning provides instant online quotes so you know the price before anyone walks through your door.
If you are weighing the time cost against the financial cost, consider that a full kitchen deep clean done properly takes four to six hours for a single person. A professional team cuts that time dramatically while delivering consistent results backed by a satisfaction guarantee.
Your kitchen works hard every day, and it deserves a thorough reset on a regular basis. Whether you tackle the entire deep clean kitchen checklist yourself or hand the job to professionals, the key is following a top-to-bottom order, using the right products for each surface, and not skipping the small details like the faucet aerator and the refrigerator coils. For homeowners who would rather spend their weekend doing something they enjoy, professional kitchen disinfection services are available on demand. Ready to hand over the scrubbing? Contact Elite Maids house cleaning today for a free quote and get your kitchen sparkling without lifting a finger.
Frequently Asked Questions
How to clean a kitchen from top to bottom?
Start at the highest points: dust ceiling vents, light fixtures, and the tops of cabinets first. Move down through appliances (stove, oven, microwave, refrigerator, dishwasher), then cabinets, counters, the sink, and the backsplash. Finish by sweeping and mopping the floor. This top-to-bottom sequence prevents debris from re-dirtying surfaces you have already cleaned, making the whole process faster and more efficient.
What are some common mistakes when cleaning a kitchen?
The most common mistakes are cleaning in the wrong order (mopping before dusting, for example), using the wrong cleaner for a surface (like vinegar on granite), skipping the inside of the microwave or oven for weeks at a time, and forgetting high-touch zones like cabinet handles and the refrigerator door gasket. Using a structured kitchen deep cleaning checklist eliminates most of these errors by keeping you on track.
How often should you deep clean a kitchen?
Most households benefit from a full kitchen deep clean every one to three months, with lighter maintenance cleaning done weekly. High-use kitchens, those in homes with children or frequent cooking, may need a thorough deep clean monthly. The stovetop and microwave should be wiped down after each use to reduce buildup and make scheduled deep cleans much faster and easier.
What cleaning products work best for a kitchen deep clean?
A degreaser handles baked-on grease on the stove and cabinet fronts. Baking soda makes a gentle abrasive paste for the oven, sink, and pots. White vinegar descales faucets, deodorizes drains, and cuts through mineral deposits. An all-purpose cleaner covers counters, the microwave exterior, and appliance surfaces. For stone counters, use a pH-neutral cleaner only. The EPA’s Safer Choice certified products are a reliable standard for effectiveness and safety.
Can I deep clean my kitchen without harsh chemicals?
Yes. Baking soda, white vinegar, dish soap, and hot water handle the vast majority of kitchen cleaning tasks without harsh fumes or chemical residue. For stubborn grease, look for plant-based degreasers that carry the EPA Safer Choice label. Lemon juice also works as a mild acid for descaling and deodorizing. Proper dwell time, where you let the cleaner sit on the surface before scrubbing, does most of the heavy lifting regardless of which product you choose.